Using a fish fryer for the first time can be both exciting and intimidating. Whether you’re preparing for a backyard fish fry or just experimenting in your home kitchen, knowing what to expect and how to prepare is critical. Safety, proper equipment, and the right techniques can mean the difference between a delicious, crispy catch and a dangerous mishap.
This comprehensive guide walks you through everything you need before using a fish fryer for the first time — from equipment and setup to safety, oil selection, and cleanup. Let’s dive in.
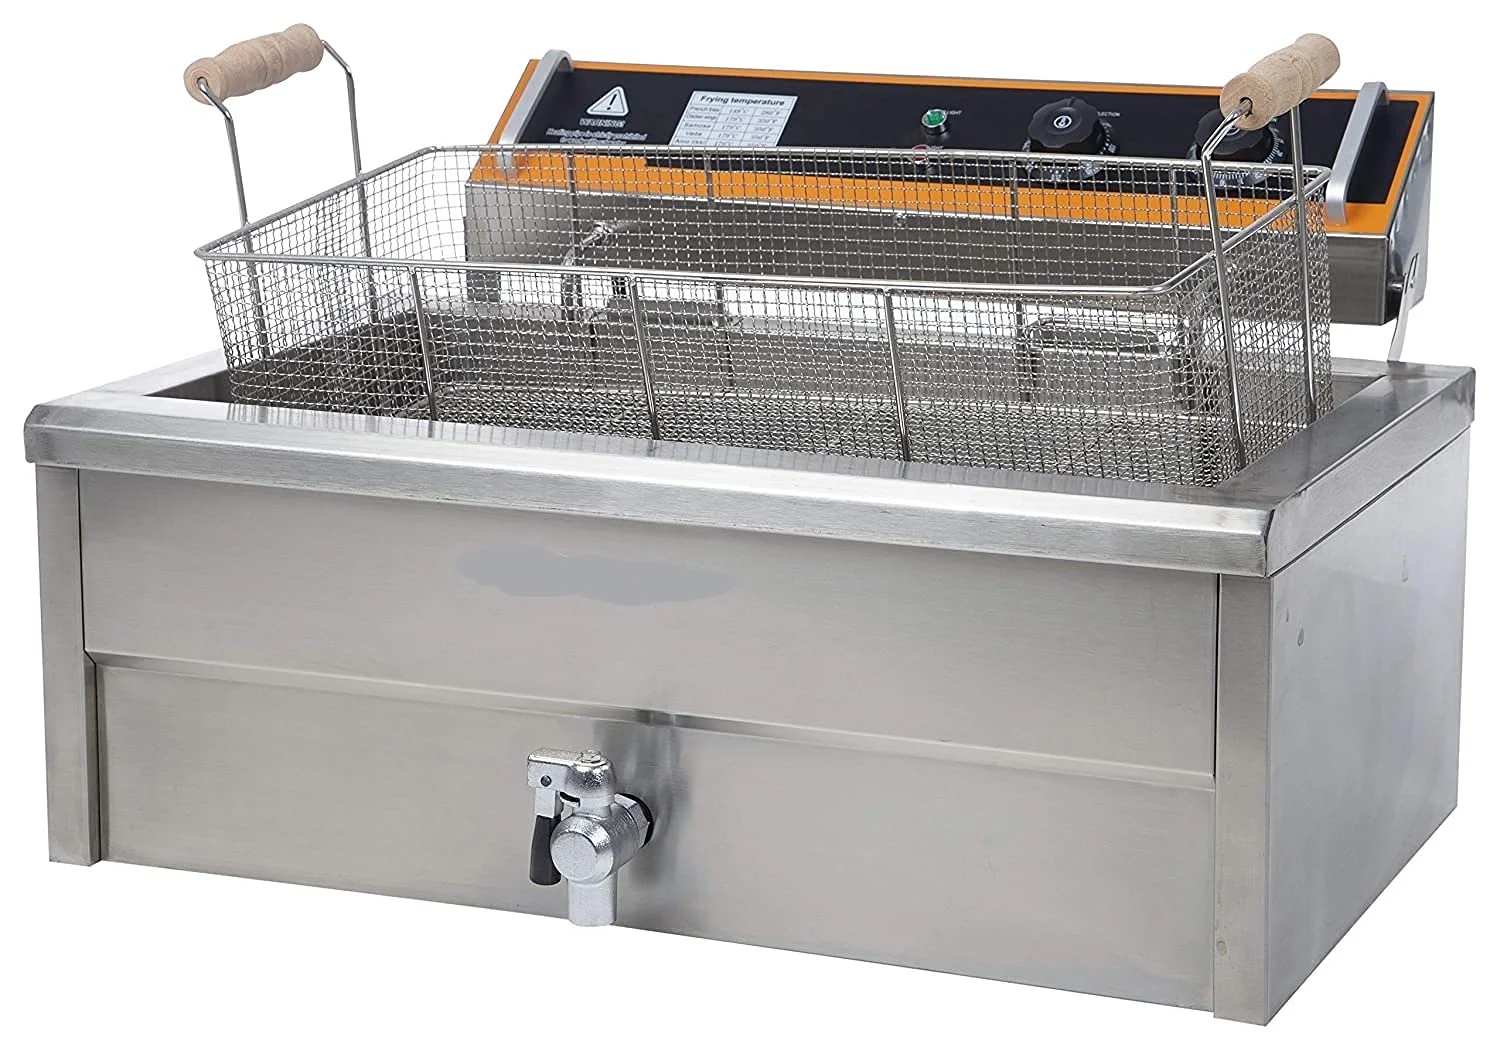
1. Understanding the Types of Fish Fryers
Before you even think about frying, it’s important to understand what kind of fish fryer you’ll be working with. Fish fryers generally fall into two categories:
● Electric Fish Fryers
Perfect for indoor use, electric fryers are equipped with thermostats and safety features, making them user-friendly for beginners. They’re ideal for smaller batches and home kitchens.
● Propane (Outdoor) Fish Fryers
These are more powerful and better suited for larger quantities. They heat up faster and often reach higher temperatures, but they must be used outdoors due to safety and ventilation needs.
Know what you’re using before you start. The preparation, tools, and safety protocols can vary widely between electric and propane models.
2. Essential Equipment You Need
Using a fish fryer isn’t just about the fryer itself. There’s a suite of accessories and tools that will make the process smoother and safer:
- Thermometer: Even if your fryer has a built-in thermostat, an external thermometer is essential to double-check oil temperature.
- Fryer Basket or Slotted Spoon: You need something to lower and lift your food safely.
- Heat-Resistant Gloves: Avoid burns when handling hot equipment.
- Paper Towels or Cooling Rack: For draining excess oil after frying.
- Fire Extinguisher (Class K or B): Especially important with propane fryers.
- Heavy-Duty Apron: Hot oil splatters — protect yourself.
- Oil Storage Containers: For straining and storing used oil if you plan to reuse it.
Having these essentials ready will help prevent scrambling at the last minute and ensure a better first-time experience with your fish fryer.
3. Choosing the Right Oil
Oil selection is one of the most critical aspects of frying. For fish frying, you want an oil that can withstand high heat and has a neutral flavor.
Best Oils for Fish Frying:
- Peanut Oil – High smoke point and clean taste.
- Canola Oil – Affordable and widely available.
- Sunflower Oil – Good for crispy textures.
- Corn Oil – Reliable and cost-effective.
Avoid oils with low smoke points, like olive oil or butter. Depending on the model and capacity, most fish fryers need 1.5 to 3 gallons of oil.
4. Safety First: Location and Setup
Safety is non-negotiable when using a fish fryer. Here’s what you need to do before turning up the heat:
For Outdoor (Propane) Fryers:
- Use on a Flat, Stable Surface: Concrete patios are ideal. Never fry on wooden decks.
- Keep Away from Structures: At least 10 feet from your house, garage, or trees.
- Use in a Well-Ventilated Area: Never fry inside garages or under overhangs.
- Anchor Your Propane Tank: Prevent tipping or shifting.
For Indoor (Electric) Fryers:
- Place on a Heat-Resistant Surface: Keep it away from flammable materials.
- Don’t Overfill the Oil: Follow max fill lines precisely.
- Avoid Water Contact: Water and hot oil are a dangerous mix.
5. Prepping the Fish
Fish should be prepped carefully before it ever hits the fryer:
- Pat Dry: Excess moisture leads to oil splatter.
- Even Cuts: Ensures uniform cooking.
- Batter or Breading: Depending on the recipe, make sure the coating sticks properly. Chill battered fish for 15–30 minutes to help the coating adhere during frying.
Pro tip: Lightly dust your fish with flour before dipping it in batter to help it stick better.
6. Heating the Oil: Getting the Temperature Right
Proper oil temperature is key to a successful fish fry.
- Ideal Frying Temp: 350–375°F (175–190°C)
- Too Cold: Fish becomes soggy and greasy.
- Too Hot: Risk of burning the outside while leaving the inside raw.
Always heat the oil slowly and monitor closely. Never leave a fish fryer unattended while heating.
7. Frying Your Fish: Technique Matters
Once your oil is at temperature and your fish is ready, follow these tips:
- Don’t Overcrowd: Adding too many pieces at once lowers the oil temp.
- Lower Slowly: Prevents splashes and burns.
- Cook in Batches: Especially if you’re new, it’s easier to manage.
- Watch the Clock: Most fish cooks in 3–5 minutes, depending on thickness.
- Drain and Rest: Place on a rack or paper towels to let the oil drain and finish crisping.
8. Post-Fry Cleanup and Oil Disposal
Once you’re done frying, there’s still important work to do:
- Let Oil Cool Completely: Never attempt to move or dispose of hot oil.
- Strain and Store: Use cheesecloth or a strainer to remove crumbs. Store in a cool, dark place for reuse (if the oil is still clean).
- Dispose Properly: Never pour oil down the drain. Use a sealed container and check local disposal guidelines.
Clean your fish fryer according to the manufacturer’s instructions. This usually involves draining residual oil, wiping down surfaces, and removing any food debris.
9. Bonus Tips for First-Time Fryers
- Test With a Small Batch: Your first fry should be a test run.
- Keep Kids and Pets Away: Hot oil is not kid- or pet-friendly.
- Use a Timer: Don’t rely on guesswork.
- Don’t Walk Away: Stay alert at all times while the fryer is on.
Final Thoughts
Using a fish fryer for the first time doesn’t have to be daunting. With the right preparation, safety measures, and equipment, you’ll be well on your way to golden, crispy fish that rivals your favorite seafood restaurant. Just remember — respect the fryer, keep safety at the forefront of your mind, and enjoy the delicious results.
Whether you’re hosting a fish fry party or simply trying your hand at a new culinary adventure, these steps will ensure you’re set up for success. Take your time, follow the guide, and let your fish fryer do its job — your taste buds will thank you.