Thinking about giving your yard a fresh look? A paver walkway can do just that while being fun to build too! It turns plain grass or dirt into a clean, stylish path that guides guests right to your door or garden. And the best part? You can do it yourself.
You don’t need to be a pro to install a paver walkway from start to finish. With just a few tools, a little time, and this easy-to-follow guide, you’ll be walking on your own creation in no time. Let’s dig in and get started.
Planning Your Paver Walkway Like a Pro
Planning your paver walkway like a pro is the very first step to making sure your project looks great and lasts a long time. Before you pick up any tools or pavers, it’s important to take some time to think about where your walkway will go, how it will look, and what materials you want to use.
Careful planning can save you time and money, and help avoid mistakes down the road. If you’re in the area, trusting a paver installation San Diego expert can make the process even smoother and ensure top-quality results.
Choosing the Best Location
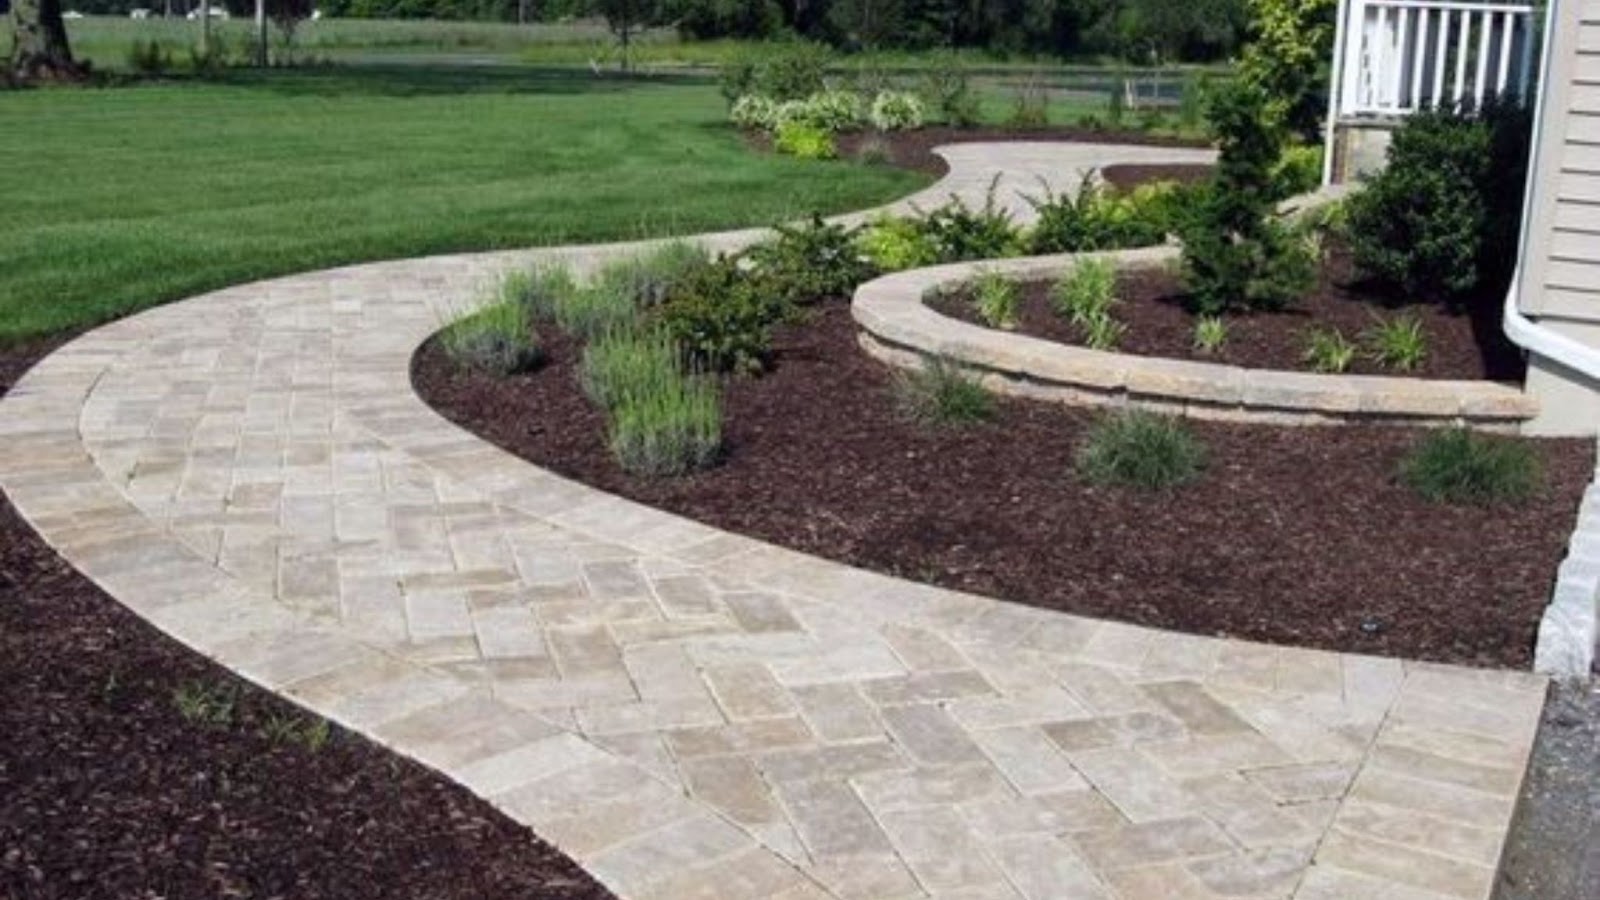
Start by looking around your yard and deciding the best spot for your walkway. Think about where people naturally walk or where you want to create a nice path. It could be from your driveway to the front door or winding through your garden. Pick a place that makes sense and looks good with the rest of your outdoor space.
Measuring and Marking Your Walkway
Once you’ve chosen your location, it’s time to measure how long and wide your walkway will be. Use a tape measure to get the exact length and width, and then mark the edges with stakes and string. This will give you a clear guide to follow when you start digging. It’s important to make sure the area is level and straight, or if you want curves, plan those carefully.
Picking Your Pavers and Design
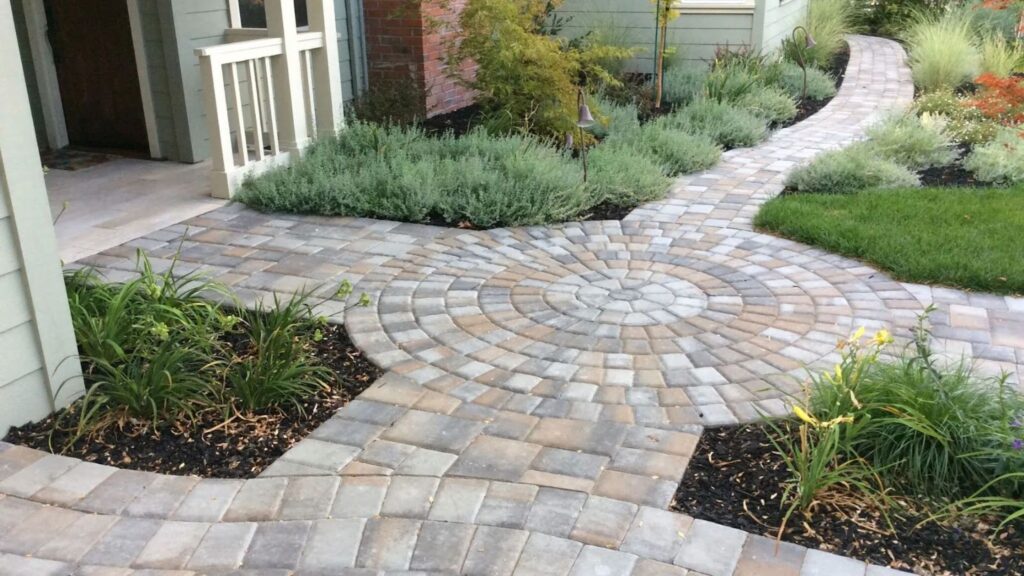
Next, think about the style and color of the pavers you want. There are many options, from simple concrete blocks to colorful bricks or natural stone. Choose something that matches your home and personal style. Also, decide if you want any special features like borders or patterns. A well-planned design will make your walkway stand out and look professional.
Prepping the Ground for a Solid Foundation
Prepping the ground for a solid foundation is one of the most important steps when installing a paver walkway from start to finish. Without a strong base, your walkway could shift, sink, or crack over time. So, before laying a single paver, you need to make sure the ground is ready to support your new path.
Gathering Your Tools and Materials
Before you begin, gather the basic tools you’ll need. A shovel, rake, tape measure, and a tamper or compactor will help you prepare the ground properly. You’ll also need some stakes and string to mark your area clearly. Having everything ready makes the process smoother and faster.
Digging to the Right Depth
Once you’ve marked your walkway, it’s time to start digging. You’ll want to remove the grass, roots, and soil to a depth of about 6 to 8 inches. This space allows room for your base materials and pavers. Digging deep enough is crucial because it prevents future sinking and unevenness in your walkway.
Compacting the Soil
After digging, the soil at the bottom needs to be compacted. Use a tamper or plate compactor to press down the soil firmly. This step creates a stable surface and reduces the chance of the ground shifting later. A solid base means your pavers will stay in place much longer.
Adding Gravel and Leveling
Next, add a layer of gravel about 4 inches thick over the compacted soil. Gravel helps with drainage and provides extra strength to your foundation. Spread it evenly, then use your rake to level the surface. After that, compact the gravel layer to make it firm and steady.
Preventing Weeds with Landscape Fabric
To keep weeds from growing up through your walkway, you can lay down landscape fabric before adding gravel. This fabric acts as a barrier but still allows water to drain through. It’s a simple step that saves you time and effort maintaining your walkway later.
Sand, Set, and Place the Pavers
Now that your ground is prepped with a solid foundation, it’s time for the fun part sand, set, and place the pavers. This step brings your walkway to life, turning your hard work into a beautiful path you’ll be proud of.
Spreading the Sand Base
Start by spreading a layer of coarse sand over the gravel base. The sand layer is usually about one inch thick. This sand acts like a cushion, helping the pavers fit tightly and evenly. Use a rake to spread the sand smoothly across the entire walkway area.
Leveling the Sand
To get the sand perfectly flat, use a long, straight board called a screed. Drag the board across the sand to level it out and remove any bumps or low spots. This step is important because an even sand layer ensures your pavers sit level and stable.
Laying the Pavers
Now comes the part where you set the pavers into place. Start at one corner or edge of your walkway and work your way across. Place each paver carefully on the sand, keeping them snug against each other. Try to keep the gaps between the pavers consistent for a neat look.
Cutting Pavers to Fit
You might find that some pavers need to be cut to fit the edges or curves of your walkway. Don’t worry cutting pavers is easier than it sounds. You can use a simple hand saw or a special paver cutter. Just measure carefully and take your time.
Tapping Pavers into Place
Once the pavers are all laid, gently tap them down using a rubber mallet. This helps settle the pavers into the sand, making sure they’re level and secure. Be careful not to hit too hard you want to avoid cracking the pavers.
Lock It In and Finish Strong
After placing all your pavers, it’s time to lock everything in and finish strong. This final step makes sure your walkway stays sturdy and looks great for years to come.
Filling the Joints with Sand
First, pour fine sand over the entire surface of your walkway. Sweep the sand into the gaps between the pavers. This fills the joints and keeps the pavers from moving around. Make sure to get the sand deep into every crack for a tight fit.
Compacting and Settling the Pavers
Next, use a plate compactor or rubber mallet to press the pavers firmly into place. Compacting helps settle the sand and pavers together, creating a solid, even surface. If you don’t have a compactor, tapping each paver with a mallet works well too.
Adding More Sand as Needed
After compacting, you might notice some gaps open up between the pavers. Sweep more sand over the walkway and fill those gaps again. Sometimes, you’ll need to repeat this step a couple of times to fully lock the pavers in place.
Watering to Harden the Sand
Spray the walkway lightly with water. This helps the sand settle and harden in the joints. Be careful not to wash away the sand use just enough water to settle it in.
Final Touches
Finally, check the edges of your walkway. Adding border stones or edging keeps everything tight and prevents the pavers from shifting out. You can also add landscape lighting or plants along the path to make your walkway look inviting and complete.
Conclusion
Building a paver walkway from start to finish is easier than it sounds. With a bit of planning and hands-on effort, you can create a path that’s both useful and beautiful. Follow the steps, take your time, and soon you’ll have a walkway that’s ready to impress and last!