Airport WiFi is slow. Café logins break. Roaming bills hurt. A simple fix is an eSIM for Japan. It is a digital plan you install with a QR code. No plastic card. No queue. You buy it online, scan once, and connect on arrival. This guide shows the full process, from phone checks to setup, testing, and quick fixes. It also compares eSIM with pocket WiFi and roaming, so you can pick what suits your trip.
What is an eSIM card
People often ask what is an eSIM card. It is a built-in SIM in your phone that stores a mobile plan digitally. You do not insert anything. You download the plan profile with a QR code or an activation code. After that, your phone uses local networks in Japan for data and calls as allowed by your plan. On newer phones, you can keep your home number active on the physical SIM and use eSIM for data in Japan. This helps with OTPs, bank alerts, and work calls while you use local data rates.
Why eSIM for Japan works well
Japan is busy and well connected. You move fast between stations and sights. A digital plan keeps you online the whole time. You can buy it before your flight, then activate when the plane lands. No counter visit. No language gap at a shop. Setup takes a few taps, then your maps, payments, and translators work.
For short trips, prepaid data plans are simple. You pay once and see your limit. If your phone has dual SIM, keep your home number active and use the Japan plan for data. That mix saves time and money.
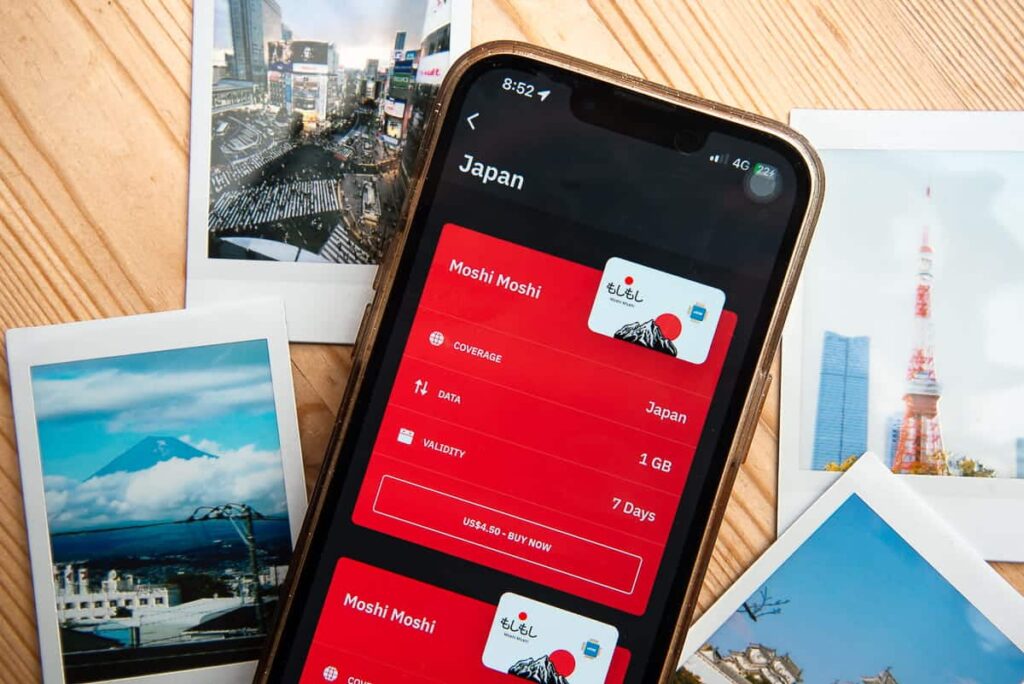
Choose the right eSIM for Japan plan
Pick by trip length and usage. Think about maps, ride apps, photos, short videos, and work tools.
- 3–5 days. 3–5 GB for maps, chat, and photos.
- 7–10 days. 5–10 GB for guides, reels, and light work.
- 2+ weeks. 10–20 GB or a fair-use “unlimited” plan.
- Hotspot. Check if tethering is allowed.
- 5G vs 4G. 5G in big cities, 4G almost everywhere.
- Activation window. Some plans must be activated within a set time. Read this line.
Tip. Pre-buy your plan but activate only when you need it. This preserves the validity for your travel days.
When to buy and install
You can buy it from home. The provider emails a QR code and manual details. You may also install the profile before you fly, then toggle it on after landing. This gives zero airport setup.
Three common timings.
- Buy and install before flight, activate on arrival. Smooth for most people.
- Buy before flight, install on arrival. For those who like a fresh setup.
- Buy and install on arrival. Works, but you need airport WiFi to fetch the email.
Always save the QR and manual codes. Keep a copy in Photos and Files. If WiFi is weak, you can add the plan with manual fields.
Step-by-step install on iPhone
- Connect to a known WiFi.
- Settings → Mobile Service or Cellular → Add eSIM.
- Choose “Use QR Code” and scan the code.
- If the scan fails, choose “Enter Details Manually.” Fill the SM-DP+ address and activation code exactly.
- Wait for the profile to download. Keep the screen on.
- Label it “Japan Data” for easy picking.
- Keep your home SIM as Default Line if you need your number.
- Set “Mobile Data” to the Japan line. Allow Mobile Data Switching if needed.
- Turn on Data Roaming on the Japan line if the provider says so.
- Test a web page. If needed, add the APN under Mobile Data Network.
Step-by-step install on Android
- Connect to WiFi.
- Settings → Connections or Network and Internet.
- SIM Manager or SIMs → Add eSIM.
- Scan the QR from your email or file.
- Or choose “Enter activation code” and fill SM-DP+ and code.
- Wait for install. Keep the screen awake.
- Set the Japan eSIM as your Mobile Data line.
- Keep your home SIM for voice and SMS if you need OTPs.
- Turn on data roaming for the Japan line if the plan needs it.
- Add the APN under Access Point Names if data does not start.
To share data with your laptop, turn on Mobile Hotspot. Check your plan allows tethering.
Settings that matter
- Mobile Data Line. Set to the Japan plan.
- Default Voice Line. Keep your home number for calls and OTPs.
- Data Roaming. Many travel plans need this on.
- APN. Add it once if given.
- Network mode. If 5G feels unstable, try 4G LTE.
- Hotspot. Use only when needed to save data.
Test and troubleshoot
Run this quick check at the airport or hotel.
- Load a simple web page.
- Search a route on Google Maps.
- Send a WhatsApp message.
- Upload one photo.
If anything fails, try this path.
- Airplane mode on for 10 seconds, then off.
- Toggle the Japan line off and on.
- Confirm the Mobile Data Line is the Japan eSIM.
- Turn on data roaming for that line.
- Add or correct the APN. Restart the phone.
- Lock to 4G LTE if 5G is flaky.
- Manually choose a network under Carrier if auto pick is weak.
eSIM vs pocket WiFi vs roaming in Japan
- eSIM for Japan. Best for solo travelers who want quick setup and lower cost. Buy online, scan, and go. Dual SIM keeps your home number active.
- Pocket WiFi. A small router to share with family or friends. Needs pickup or delivery. Keep it charged and safe. Loss fees can apply.
- Carrier roaming. Zero setup. Often costly for heavy data. Fine for a short work trip if a company pays.
If two or three people travel, compare one pocket WiFi daily fee with two eSIM plans. For one person, eSIM is cleaner and cheaper in most cases.
Practical tips for Japan
- Peak hours can slow speeds. Maps still load.
- On rural trips, download offline maps.
- Keep a small cash backup for remote spots.
- Use text and camera translators. Light data use.
- Turn on the data saver. Delay cloud backups to WiFi.
- Cap laptop updates when using hotspot.
Step-by-step guide
- Check device support and unlock status.
- Choose the right eSIM for Japan plan.
- Buy online and save the QR and codes.
- Install WiFi.
- Set Japan eSIM as a data line.
- Keep home SIM for calls and OTPs.
- Turn on data roaming if required.
- Add APN if given.
- Test web and maps.
- Use hotspots only when needed.
Final Take
An eSIM for Japan is the cleanest way to stay online without queues or plastic. Buy it at home, keep the QR safe, and switch it on when you land. Check support and unlock status once, then follow the simple steps in this guide. Set the Japan line for data, keep your home SIM for calls and OTPs, and turn on data roaming if the plan needs it. Test a web page and maps, add the APN if required, and you are ready.