A Complete Guide to Multi-Cannabinoid Testing
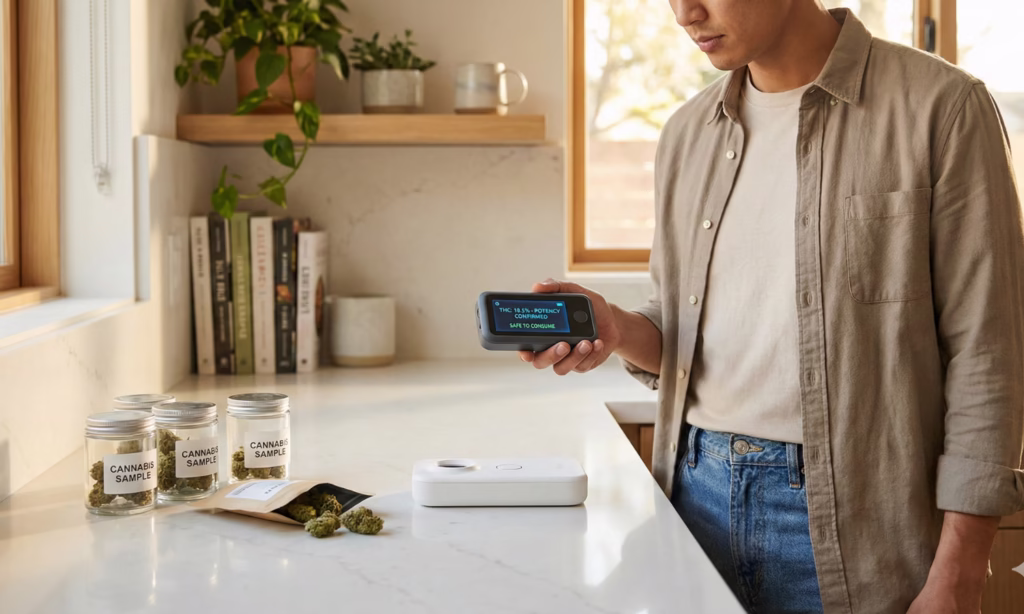
A decade ago, the idea of testing cannabis at home felt unrealistic, something only professional labs with advanced machines could do. Fast forward to 2025, and things have changed dramatically. Growers, edible makers, and even everyday consumers now have access to simple, reliable THC test kits that help them understand exactly what’s inside their cannabis or hemp products. Instead of relying solely on external labs or guessing potency, people can now run tests in minutes and get a clear picture of cannabinoids like THC, CBD, CBG, and CBN.
This shift isn’t just about convenience; it’s about safety, transparency, and control. Multi-cannabinoid testing has become a tool that empowers everyone in the cannabis community, from home growers to small brands and health-focused consumers.
Why Multi-Cannabinoid Testing Matters
Cannabis isn’t just about THC anymore. Today, people want to understand the entire profile of how relaxing, energizing, therapeutic, or balanced a product might be. THC, CBD, CBG, and CBN each play a unique role:
- THC influences psychoactive effects.
- CBD supports relaxation and relief.
- CBG is known for wellness benefits and balancing qualities.
- CBN is often associated with calming and sleep-supporting effects.
When you know the levels of each, you can better predict how a flower, oil, edible, or concentrate will make you feel. Using a simple THC test kit, users can see this full profile right at home with no machinery needed.
What You Need Before You Start
To test cannabinoids at home, you’ll need a TLC-based system (Thin Layer Chromatography). Modern THC test kits include everything required, such as:
- TLC test plates
- Sample extraction fluid
- A developing chamber
- Pipettes or micro-pipettes
- A calibration chart for reading results
- Gloves and simple tools for handling samples
You don’t need scientific training, just patience and clean preparation.
Step 1: Preparing Your Sample
The way you prepare your sample depends on what you’re testing. The goal is to dissolve a tiny amount of product into the extraction fluid so the cannabinoids can separate clearly on the test plate.
For flower (cannabis or hemp)
- Grind a small amount (a pinch is enough).
- Place it into a small vial.
- Add extraction fluid.
- Let it soak and shake gently to release cannabinoids.
For oils or tinctures
- Shake the bottle well.
- Use a pipette to grab a small amount.
- Mix with extraction fluid in a clean vial.
For edibles (gummies, chocolates, baked goods)
- Cut a 0.5–1g piece.
- Mash it thoroughly or dissolve gently.
- Add extraction fluid and mix until cannabinoids release.
For concentrates (shatter, wax, rosin, distillate)
- Use a grain-sized amount.
- Warm slightly if needed.
- Mix with extraction fluid until fully dissolved.
Once your sample looks consistent, you’re ready to apply it to the plate.
Step 2: Spotting the Plate
This part feels a bit like science class, but in a fun, predictable way.
- Take your pipette and collect a tiny drop of the prepared sample.
- Place a small spot on the bottom line of the TLC plate (called the origin line).
- Let the spot dry completely.
- If you’re testing multiple samples, place each spot at equal distances.
Good spotting leads to clear separation, which means easier reading later.
Step 3: Developing the Plate
The magic happens in the developing chamber.
- Pour developing fluid into the chamber.
- Place the TLC plate upright (without the sample touching the liquid).
- Close the lid to avoid evaporation.
- Let the fluid rise slowly through the plate.
- Remove the plate once it reaches the top line.
As the fluid separates, cannabinoids begin to travel upward, each stopping at different points depending on their structure. THC, CBD, CBG, and CBN form distinct spots, almost like a fingerprint of your cannabis.
Step 4: Reading the Results
After removing the plate, let it dry and place it under a UV or visible light source.
You’ll notice separate dots across the plate:
- One dot corresponds to THC
- One to CBD
- One to CBG
- One to CBN
Using the calibration chart provided in most THC test kits, you can match the positions and color intensities to estimate potency. It’s not just about seeing whether a cannabinoid is present, you can actually understand how strong it is relative to the rest of the sample.
Tips for Accurate Testing at Home
Even though the test kit systems are beginner-friendly, a few small habits can greatly improve accuracy:
- Work in a clean, dust-free environment.
- Make sure samples are fully dissolved.
- Avoid touching the TLC plate surface.
- Keep pipette drops small and consistent.
- Repeat tests when comparing different batches.
- Store plates and fluids in cool, dry conditions.
Good technique leads to precise, repeatable results.
Why At-Home Cannabinoid Testing Is Growing Fast
People want to know what they’re consuming, and they don’t want to guess. As cannabis becomes more potent, more varied, and more available, testing at home eliminates uncertainty.
Growers use these kits to improve harvest quality.
Edible makers use them to control dosage.
Consumers use them to avoid mislabeled or low-quality products.
A THC test kit provides clarity, confidence, and control all from the kitchen table or home workspace.
Final Thoughts
Testing THC, CBD, CBG, and CBN at home has never been easier. TLC-based THC test kits offer a practical, affordable way to get real cannabinoid insights without expensive equipment. Whether you grow, make edibles, or simply want to understand your cannabis better, home testing helps you make informed decisions and enjoy safer, more predictable experiences.
Please Read the entire manual before starting any testing