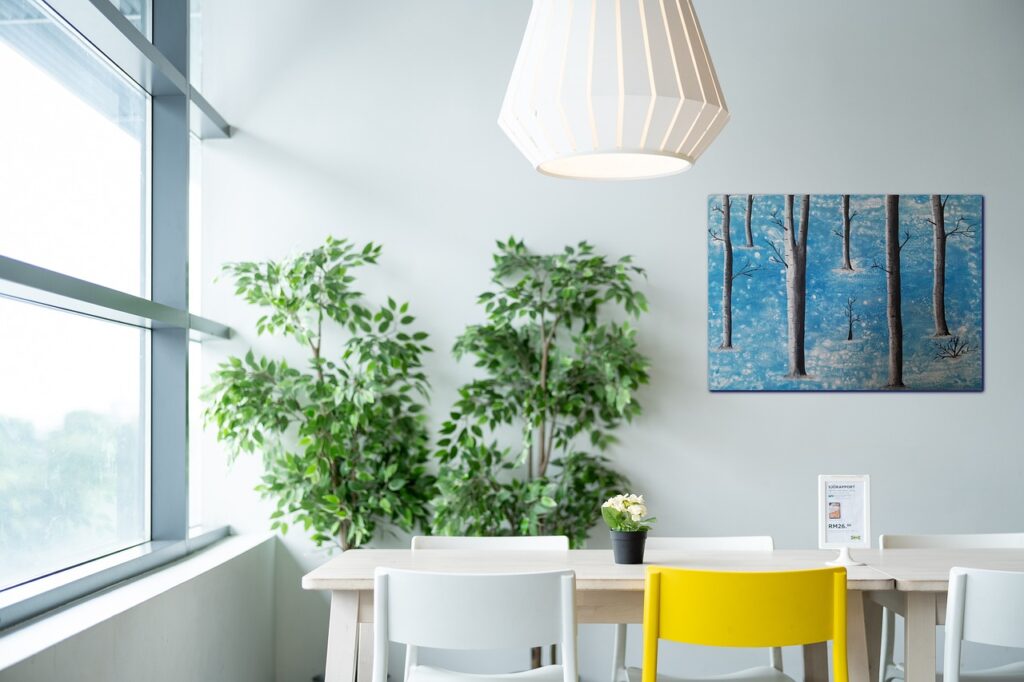
Embarking on an interior painting project can seem daunting, but with the right guidance, it can transform any space into a vibrant oasis. This comprehensive guide will take you through the entire process, from selecting the perfect paint to applying the final coat. Whether you’re a seasoned DIY-er or a novice looking to enhance your skills, understanding the nuances of interior painting is essential for achieving professional-looking results.
Understanding Paint Options
Choosing the right type of paint is fundamental to a successful painting project. Paints typically come in two major forms: latex and oil-based. Latex paints, made from water-based materials, are popular for their ease of clean-up, low odor, and quick drying times. They are less prone to yellowing over time, making them suitable for walls and ceilings. In contrast, oil-based paints offer a durable finish that is advantageous for woodwork and metal surfaces, but they require solvents for clean-up and have a longer drying time.
Consider the finish of the paint. Options range from flat to high-gloss, with each offering distinct characteristics. Flat finishes hide imperfections and work well for ceilings, while eggshell or satin finishes add a subtle sheen that’s ideal for living rooms and bedrooms. Semigloss and gloss finishes are excellent choices for trim and moldings due to their durability and ease of maintenance.
Gathering Necessary Tools and Supplies
Once you’ve selected your paint, it’s time to prepare your toolkit. The essentials you’ll need include brushes, rollers, painter’s tape, drop cloths, and fine-grit sandpaper for surface preparation. Brushes come in various sizes, allowing for precision in corners and edges, while rollers are designed for covering larger areas quickly. Consider using a paint tray and liner for easier application and cleanup.
Protective gear like goggles and masks is crucial for safety. These items can help shield you from harmful fumes and debris. Ensuring good ventilation in your workspace will promote a safer environment and aid the drying process. When choosing where to purchase your supplies, consider reputable retailers, such as Paintzone, known for their extensive selection of high-quality painting materials. With the right tools in hand, you’ll be well-equipped to tackle your painting project efficiently and achieve professional-looking results.
Preparing the Space
Preparation is key to achieving a flawless finish. Start by moving furniture away from walls and covering them with drop cloths. If you’re working in a room where the floor can come into contact with paint, spread a larger drop cloth or old newspaper to protect it. Inspect the surfaces you plan to paint for any imperfections. Patch holes and cracks with spackle, and sand rough areas to ensure a smooth finish. After the repairs, cleaning walls with a damp cloth to remove dust and grime can greatly affect how well the paint adheres.
It’s vital to tape off areas where you don’t want paint, including baseboards, moldings, and window edges. Using high-quality painter’s tape will minimize the risk of paint bleeding into those areas, providing a crisp edge that enhances the look of your finished project.
Applying Primer
Applying primer is an often-overlooked step that can vastly improve your painting results. Primer helps to create a uniform surface for the paint by sealing porous materials, thus ensuring that the paint adheres better and lasts longer. If you’re transitioning from a darker to a lighter color, a tinted primer can enhance coverage, reducing the number of paint coats needed.
When applying primer, use the same tools you plan to use for the paint. A roller often covers larger areas, while brushes will allow detailed work around trims and corners. Allow sufficient drying time as indicated on the primer container before proceeding with your actual paint application. This ensures that you’re starting with a solid foundation.
Mastering the Painting Technique
Now that your space is prepared and primed, it’s time to put your skills to the test. Start painting from the top of the wall down to prevent drips from ruining your work. If you’re repainting an entire room, it’s advisable to use the “W” or “M” technique with your roller. This involves rolling paint in a zigzag pattern without lifting the roller, ensuring even distribution of the paint. After applying paint with the roller, use a brush to blend any edges for a seamless look.
Depending on your paint type and color, two coats may be necessary for optimal coverage. Always check the drying time between coats and make sure your initial coat is fully dry before applying the next one. Observing these details can greatly enhance the quality of your finished project.
Finishing Touches and Cleanup
Complete your project by removing the painter’s tape while the paint is still slightly wet. This careful approach helps prevent peeling along the edges. After achieving the desired coverage and allowing the paint to dry fully, consider adding any final touches, such as touching up spots that might have been missed. Clean your brushes and rollers immediately with soap and water for latex paint, or the appropriate solvent for oil-based paint, to extend their usability for future projects.
Remember that proper ventilation is crucial even when cleaning. Allow the room to air out until the paint’s odor dissipates, ensuring a pleasant environment to enjoy your newly transformed space.
Pride in your work is one of the most rewarding aspects of a DIY project. Step back and admire your hard work and the transformed atmosphere of your room. Now that you’re armed with the knowledge and skills of interior painting, you can choose to tackle other areas of your home or even help friends and family with their painting projects.
With careful preparation, a good understanding of paint options, and execution, your interior painting journey can lead to stunning results. Take the experience you’ve gained and apply it to future endeavors, enhancing your home’s aesthetic one room at a time.


