We all know that patches tell stories. They mark club affiliations, commemorate rides, and display personal identity across the leather canvas riders wear proudly. But circumstances change. Club memberships end. Designs grow outdated. New patches demand space where old ones currently sit.
Removing patches from a motorcycle mens leather vest requires careful technique to avoid permanent damage. Rush the process or use wrong methods, and you risk holes, discoloration, and ruined leather that no conditioner can restore.
This guide covers every patch removal scenario, sewn patches, iron-on patches, and adhesive-backed designs. You will learn which tools work best, how to address residue left behind, and what restoration steps return your vest to pristine condition afterward.
Understanding Different Patch Attachment Methods
Before grabbing tools, identify how your patches attach to the leather. Each method requires different removal approaches, and using wrong techniques causes unnecessary damage.
Sewn Patches and Thread Types
Traditional sewn patches remain the most common attachment method for serious riders. Embroidered patches featuring club colors, chapter rockers, and commemorative designs typically attach through polyester thread or heavy-duty nylon thread stitched directly through leather.
Sewn patches on a motorcycle vest create the most durable attachment but also leave the most visible evidence after removal. Needle marks and stitch holes remain in the leather permanently, though proper conditioning minimizes their appearance significantly.
Thread color matters for removal difficulty. Contrasting thread shows clearly against leather, making stitch identification easy. Matching thread blends into the material, requiring closer inspection to locate every stitch needing removal.
Iron-On Patch Backing
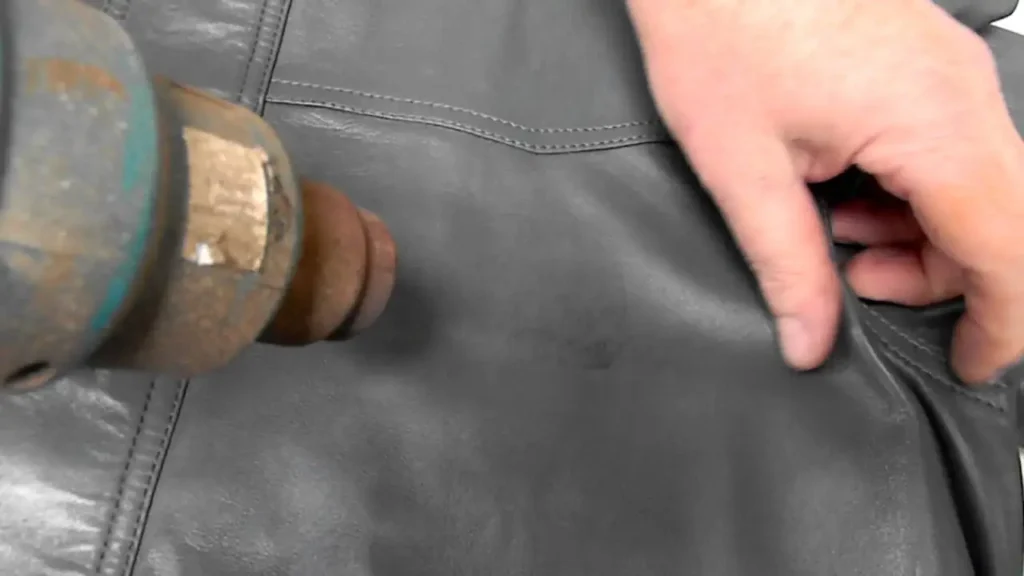
Iron-on patches use heat-activated adhesive backing that melts and bonds with fabric when pressed with hot irons. These patches occasionally appear on leather vests, though the application process risks heat damage to natural leather fibers.
Removing iron-on patches requires reactivating the adhesive through controlled heat application. The backing softens when warmed, allowing careful peeling without tearing leather surfaces. Rushing this process or applying excessive heat causes permanent damage.
Adhesive-Backed Patches
Peel-and-stick patches feature pressure-sensitive adhesive backing that bonds without heat or stitching. Riders sometimes use these for temporary displays or when sewing skills are lacking.
Adhesive patches leave the most stubborn residue on motorcycle mens leather vest surfaces. The chemical adhesive penetrates leather pores, requiring solvent treatment for complete removal. Improper cleaning attempts spread residue further or discolor the leather permanently.
Velcro Attachment Systems
Some riders attach patches using velcro strips sewn onto both vest and patch backing. This system allows quick patch changes without permanent attachment, though the velcro strips themselves require removal when no longer wanted.
Velcro removal follows sewn patch procedures since the strips attach through stitching. The hook-and-loop material itself peels away easily once thread cutting completes.
Essential Tools for Safe Patch Removal
Gathering proper tools before starting prevents mid-project problems and reduces leather damage risk. Quality tools make the difference between clean removal and permanent scarring.
Cutting and Removal Tools
A sharp seam ripper serves as your primary tool for sewn patch removal. This specialized instrument features a curved blade designed to slide beneath threads and cut them cleanly without gouging underlying material. Dull seam rippers require excessive pressure that damages leather.
Small scissors with pointed tips handle thread cutting in tight spaces where seam rippers cannot reach effectively. Embroidery scissors work particularly well for precision cutting around detailed stitch patterns.
Needle nose pliers grip and pull thread remnants from leather after initial cutting. Tweezers handle finer thread pieces that pliers cannot grasp effectively. Both tools prevent finger fatigue during extended removal sessions.
A craft knife or x-acto knife addresses adhesive residue requiring scraping. Keep blades sharp and work at shallow angles to avoid cutting into leather surfaces beneath residue layers.
Cleaning and Conditioning Supplies
Rubbing alcohol or isopropyl alcohol dissolves many adhesive types without damaging leather when applied carefully. Use concentrations between 70% and 90% for best results.
- Commercial adhesive removers like Goo Gone work on stubborn residue but require testing on hidden areas first. Some formulations contain chemicals that discolor certain leather types or remove protective finishes.
- Saddle soap cleans leather surfaces after patch removal, removing dirt and oils that accumulated beneath patches over time. This preparation step ensures conditioning products penetrate properly.
- Quality leather conditioner restores moisture and flexibility to leather stressed during patch removal. Neatsfoot oil, leather balm, and commercial conditioning creams all serve this purpose effectively.
- Soft cloths and microfiber towels apply and buff products without scratching leather surfaces. Avoid paper towels that leave fibers behind or rough fabrics that create micro-scratches.
Step-by-Step Sewn Patch Removal Process
Removing sewn patches from a men’s leather motorcycle vest requires patience above all else. Rushing leads to mistakes that damage leather permanently.
Preparing the Work Area
Lay your vest flat on a clean, stable surface with good lighting. Position the patched area facing upward with full access to edges. Some riders prefer working with the vest turned inside-out to access thread from the backing side.
Examine stitch patterns carefully before cutting anything. Identify thread paths, knot locations, and any areas where stitching overlaps. Planning your cutting sequence prevents accidental damage to leather during removal.
Cutting and Removing Thread
- Insert your seam ripper beneath the first stitch, positioning the blade against thread rather than leather. Push forward smoothly to cut the thread cleanly. Avoid sawing motions that stress surrounding stitches.
- Work systematically around the patch perimeter, cutting every third or fourth stitch initially. This approach loosens the patch gradually without creating stress points that tear leather. Return to cut remaining stitches once the patch moves freely.
- Pull cut thread pieces from both sides of the leather using tweezers or needle nose pliers. Thread left embedded in stitch holes prevents proper closing and conditioning later. Check inside the vest for thread tails requiring removal.
Handling Stubborn Stitches
- Heavy-duty thread sometimes resists seam ripper cutting. For these situations, carefully slide small scissors beneath the thread and cut upward away from the leather surface.
- Double-stitched patches require cutting both thread lines before removal. Work on the outer stitch line first, then address inner stitching once the patch edge lifts.
- Machine stitching creates tighter, more numerous stitches than hand sewing. These patches take longer to remove but follow identical procedures. Patience remains essential—forcing partially attached patches tears leather around stitch holes.
Removing Iron-On and Adhesive Patches
Heat-attached and adhesive patches require different approaches than sewn versions. Chemical and thermal methods replace cutting tools.
Heat Application for Iron-On Patches
Set a hair dryer to medium heat and hold it six inches from the patch surface. Move the dryer continuously to distribute heat evenly without creating hot spots that damage leather. After 30 to 60 seconds, test the patch edge for loosening.
When adhesive softens, peel the patch slowly from one corner. Maintain gentle heat application during peeling to keep adhesive pliable. Rushing causes adhesive to cool and re-bond mid-removal.
Never use clothing irons directly on leather—temperatures exceed safe thresholds and cause permanent burns. Heat guns provide faster heating but require careful temperature control and constant motion to prevent damage.
Adhesive Residue Removal
- Adhesive remaining on your motorcycle men’s leather vest after patch removal requires chemical treatment. Apply rubbing alcohol to a soft cloth and dab the residue gently. Avoid rubbing motions that spread adhesive into leather pores.
- Allow alcohol to soften residue for one to two minutes before wiping. Repeat applications as needed until residue lifts completely. Stubborn spots may require commercial adhesive removers tested on hidden areas first.
- Scrape softened residue carefully using plastic scrapers or credit card edges. Metal tools scratch leather surfaces and should only address residue on smooth, finished leather types.
Treating Stitch Holes and Leather Damage
Patch removal inevitably leaves evidence behind. Proper treatment minimizes visibility and prevents further damage.
Closing Stitch Holes
Stitch holes in leather never disappear completely, but conditioning helps them close partially. Apply leather conditioner directly to affected areas using fingertips, working product into each hole individually.
Allow conditioner to absorb overnight, then buff gently with soft cloth. Repeat conditioning treatments weekly until holes minimize to acceptable levels. Full-grain leather responds better than corrected-grain varieties.
Addressing Discoloration
Leather beneath patches often appears lighter than surrounding areas due to reduced sun exposure and wear. This color difference fades gradually with normal use and conditioning.
Accelerate color blending by conditioning the entire men’s leather motorcycle vest surface uniformly. This approach ensures even moisture distribution and promotes consistent aging across all areas.
Severe discoloration may require professional leather dyeing services. Home dyeing products exist but risk uneven application that creates worse appearance than original discoloration.
Leather Cleaning and Conditioning After Removal
Post-removal care determines how your vest ages going forward. Proper treatment restores leather health stressed during the removal process.
Cleaning the Entire Surface
Apply saddle soap using damp soft cloth, working in circular motions across the entire vest surface. This cleaning removes accumulated dirt and prepares leather pores for conditioning product absorption.
Wipe away soap residue with clean damp cloth, then allow the vest to dry completely at room temperature. Avoid heat sources that accelerate drying and cause leather cracking.
Conditioning for Restoration
- Apply quality leather conditioner evenly across all surfaces using soft cloth or bare hands. Work product into seams, edges, and stress points where leather needs moisture most.
- Allow conditioning products to absorb for several hours or overnight before buffing. Multiple light applications outperform single heavy applications that sit on surfaces without penetrating.
Regular conditioning every few months maintains leather flexibility and appearance regardless of patch removal history. Well-maintained leather develops attractive patina rather than showing damage evidence prominently.
When to Seek Professional Help
Some situations exceed reasonable DIY capabilities. Recognizing these scenarios prevents costly mistakes.
- Vintage leather vests with significant value warrant professional handling. Antique leather responds unpredictably to modern chemicals and techniques.
- Heavily damaged leather around patches may require professional repair before or after removal. Tears, cracks, and severe discoloration need expert assessment.
Large back patches with extensive stitching test patience and skill levels. Professionals complete these removals faster with better results than most DIY attempts achieve.
Final Thoughts on Patch Removal Success
Removing patches from leather vest for men requires preparation, patience, and proper technique. Identify attachment methods before starting. Gather appropriate tools for each situation. Work slowly and systematically rather than forcing progress.
Post-removal care matters as much as the removal process itself. Clean thoroughly, condition generously, and maintain regular leather care going forward. Your vest serves you for decades when treated respectfully through every modification.
The evidence of removed patches fades with time and conditioning. New patches can cover previous locations if desired. Quality leather forgives careful work and rewards patient owners with lasting service and distinguished appearance.