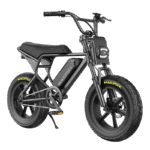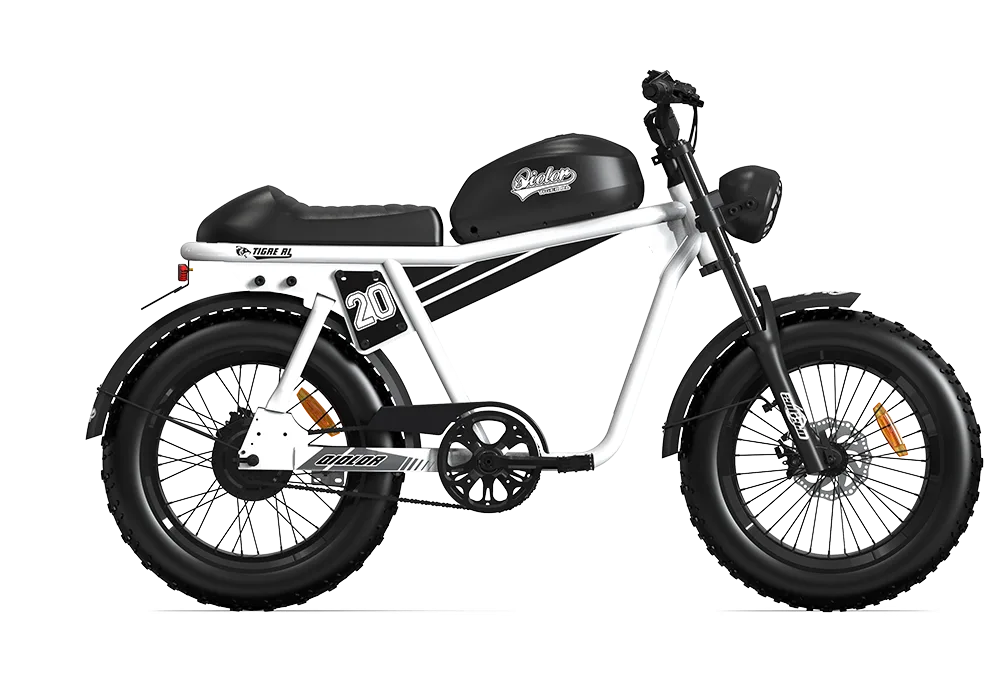
There’s a special kind of freedom in floating over sand, snow, or singletrack on a fat tire electric bike. Big rubber and a strong motor give you that rolling, unstoppable feel. Then you hear the hiss, feel the squish, and know a flat has arrived. No worries. Fixing a flat on an e-bike, even with huge tires, is a skill you can pick up quickly. Use this guide to turn a stressful moment into a quick pit stop and get back to the ride.
Gearing Up for the Fix: What to Pack
A few smart tools in your bag keep small problems small. Think of this kit as trail insurance you carry on every ride.
- Tire levers: Fat tires have tight beads. Pack sturdy levers, plastic or metal. Three makes the job easier.
- Wrenches or Allen keys: Check how your wheels mount. Some use axle nuts, others use a thru axle. An adjustable wrench works in a pinch, but the right size wrench such as 15 mm or 18 mm is better. Bring the hex keys your bike uses as well.
- Patch kit or spare tube: A patch kit is light and fixes multiple pinholes. A spare tube is the fastest way to roll again, especially in bad weather. Make sure the tube matches your tire size and width.
- A reliable pump: A compact hand pump will do the job, though filling high volume fat tires takes patience. A CO₂ inflator speeds things up. Choose one with enough output for big tires and a controllable valve.
- Nice to have: Light gloves to keep your hands clean and a small multi tool for quick tweaks.
With this setup ready to go, a flat becomes a simple task instead of a day ender.
Step by Step Guide to a Stress Free Flat Fix
Tools ready? Find a calm spot, take a breath, and follow these steps.
Step 1: Remove the wheel
- Find a safe spot. Move off the trail or road. If it helps, flip the bike so it rests on the handlebar and saddle.
- Unplug the rear motor cable. For rear flats on hub motor bikes, locate the waterproof plug near the chainstay. Line up the arrows and pull the connector apart gently. Do not yank the wire.
- Mind the brakes. If you run hydraulic discs, avoid squeezing the brake lever with the wheel out. Slip a pad spacer or folded cardboard between the pads to keep them apart.
- Loosen the axle. Use the correct wrench or hex key to loosen nuts or the thru axle. Slide the wheel out of the dropouts. If it is the rear, guide it clear of the chain and derailleur.
Step 2: Remove the tire and tube
- Deflate fully. Press the valve core to let out any remaining air.
- Break the bead. Push the tire edges inward toward the center channel of the rim all the way around on both sides to create slack.
- Work the levers. Slide a lever under the bead and pry it over the rim, then hook it on a spoke. Move 4 to 6 inches along and do the same with a second lever. Add a third lever if needed. Once a section is free, run a lever around the rim to pop one side off completely. Pull the tube. Reach in and remove the punctured tube.
Step 3: Find the cause
- Check the tire. Run your fingers carefully inside the casing, or use a rag to protect your hand. Feel for thorns, glass, or sharp stones and remove anything you find.
- Check the rim. Make sure the rim strip covers all spoke holes and is not torn or out of place.
Once you have cleared the culprit, you are ready to install a new tube or patch and get rolling again.
Patching vs Replacing: The Final Steps
You are almost done. All that is left is getting a good tube back in the tire.
If you are replacing the tube
This is the quickest way to get rolling again.
Add a little air: Put a small puff of air in the new tube so it holds its shape without getting firm. This helps prevent twists and pinches.
Install the tube: Feed the valve through the rim’s valve hole, then tuck the rest of the tube gently into the tire.
Reseat the tire: Start opposite the valve. Use your thumbs to push the bead back into the rim and work around both sides evenly. The last few inches feel tight. Skip the lever here because it can pinch the fresh tube. Instead, push the bead into the rim’s center channel all the way around to gain slack, then roll the final section into place.
Inflate: Before you pump it up fully, check that the bead sits evenly on both sides of the rim. Inflate to your target pressure. Fat tires usually run around 8 to 20 PSI depending on rider weight and terrain.
If you are patching the tube
Sometimes a patch is the move, and it is a great skill to have.
Find the hole: Inflate the tube and listen for a hiss, or hold it near your cheek to feel air. If you still cannot spot it, dunk the tube in water and look for bubbles.
Prep and patch: Mark the spot. Lightly scuff the area with the kit’s sandpaper. Spread a thin layer of vulcanizing glue and let it dry until it looks dull. Press the patch on firmly and hold for a minute so it bonds.
Reinstall: Once the patch is set, follow the same steps as a new tube: slight pre-inflate, valve through the rim, tuck the tube, seat the bead, then inflate and check the bead line.
With either method, spin the wheel and give the tire a quick squeeze all around to confirm even seating. You are ready to ride.
Back in the Saddle: Reinstalling the Wheel
Guide the wheel back into the dropouts, making sure the brake rotor slips cleanly between the pads. For a rear wheel, set the chain on the smallest cog as you lift the axle into place. Tighten the axle nuts or the thru axle until everything is snug and secure. Reconnect the motor cable by lining up the arrows and pressing until it clicks. Spin the wheel to confirm it turns freely and the brake does not rub. Flip the bike upright and you are set to roll. Riding an electric cruiser bike with fat tires delivers pure fun and real capability. Learning to handle a flat is about confidence as much as repair. It turns you from a passenger into the captain of the ride, ready for whatever the trail serves up. Pack a small kit, ride with confidence, and enjoy the journey.