Many customers looking for quality wireless earbuds with noise-canceling capabilities now turn to Apple AirPods Pro, though like any tech device they do have some peculiarities and could pose sound issues including clipping off, muffled audio or an imbalance between left and right earbuds. Don’t panic if any of these issues arise; there are multiple approaches you can take towards troubleshooting and fixing them quickly and efficiently.
1. Check The Bluetooth Connection
To resolve sound problems, ensure your AirPods Pro is connected via Bluetooth to both devices you are using – one common source of sound distortion or cutting out is due to unreliable connectivity between Bluetooth devices; click here to know what can help:
- Move Closer To Your Device: Bluetooth’s range is constrained. Audio issues could arise from a weakening connection if you’re too far away from your device. Attempt to get closer to your computer, tablet, or phone.
- Reset The Bluetooth Connection: Switch off and then back on Bluetooth on your device. Try reconnecting your AirPods Pro to determine if the problem with sound continues.
- Check For Interference: Wi-Fi networks and other electronic equipment may disrupt Bluetooth communications. Relocate yourself, if you can, away from any other electronics that might be interfering.
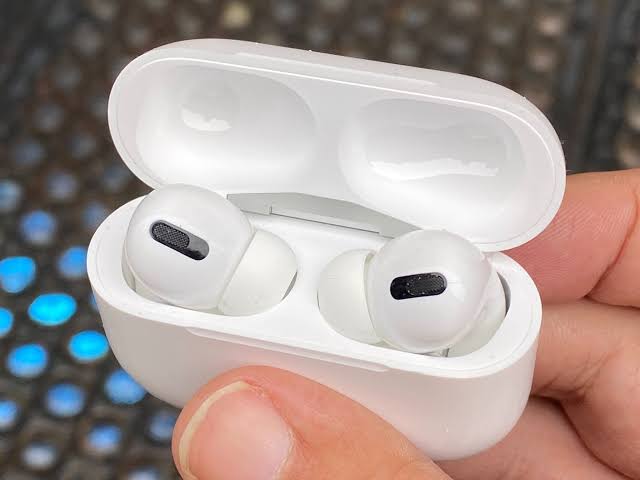
2. Inspect The AirPods For Physical Damage
Physical damage or accumulations could also contribute to sound issues with AirPods Pro devices, like the build-up of wax, dust, or debris in speaker grilles over time, causing decreases in sound quality or audio outages. How you should clean them:
- Use A Soft, Dry Cloth: Use a soft, dry cloth to wipe down the exterior of the AirPods. Liquids or materials with harsh textures should never be applied as this could potentially harm them.
- Clean The Speaker Grilles: To clean the speaker grilles, use a dry brush with soft bristles. Use caution to prevent inserting more debris into the earbud.
- Inspect For Damage: Look out for any signs of visible damage, like dents or cracks, on your AirPods Pro that indicate damage; contact Apple Support immediately in such cases to arrange replacement or repairs as soon as possible.
3. Update The Firmware
Apple updates the firmware on AirPods Pro regularly in order to address issues and maximize efficiency, which means an older firmware version could be responsible for the sound issues you are currently experiencing. Checking and upgrading AirPods Pro:
- Connect Your Airpods To Your Device: Verify that your iPhone, iPad, or iPod Touch is linked to your AirPods Pro.
- Check For Updates: Launch the Settings application on your gadget, navigate to “General,” then “About,” then choose “AirPods.” This is where you can view the AirPods Pro’s firmware version as of right now.
- Automatic Updates: Firmware updates usually install themselves automatically when connected to Wi-Fi with AirPods Pro plugged into them; please ensure both are fully charged and within Bluetooth range of each other should one become available.
4. Reset Your AirPods Pro
Resetting your AirPods Pro may provide relief if none of the solutions above work to rectify their sound issue. Performing this action will restore them back to their initial configuration by clearing away all existing settings that might cause confusion and problems with sound playback. For instructions on how to reset them, follow these steps:
- Place Your Airpods In The Charging Case: Verify that the case is closed and that both AirPods are inside.
- Wait For 30 Seconds: Allow the AirPods Pro 30 seconds to disengage from any devices they are connected with by waiting this length of time.
- Open The Lid: Press and hold the setup button on the back of the case while the lid is open for approximately 15 seconds or until the status light flashes amber before turning white.
- Reconnect Your Airpods: Reconnect your AirPods Pro to your device by getting them close to it and following the on-screen directions after it has been reset.
5. Adjust Audio Settings
Occasionally, adjusting your device’s audio settings can fix sound problems. There are various settings available on Apple devices to improve or correct audio performance:
- Check The Audio Balance: Navigate to “Audio/Visual,” then “Settings,” and finally “Accessibility.” A balancing slider that is off-center can result in sound that is louder in one ear than the other, so make sure it is in the center.
- Disable Spatial Audio: This function mimics surround sound; however, it occasionally produces audio problems. Go to “Settings,” choose “Bluetooth,” then press the “i” next to your AirPods Pro to try turning it off. After that, turn off the “Spatial Audio” setting.
- Turn Off Noise Cancellation: Another feature that occasionally produces distorted sound is Active Noise Cancellation (ANC). Press and hold the force sensor on the stem of each AirPod until a chime sounds to switch it off. As an alternative, you can change the configuration through your device’s Control Center.
Conclusion
Sound issues with AirPods Pro headphones may be frustrating for their owners, yet most issues can often be corrected using straightforward troubleshooting techniques. You might restore high-quality audio by cleaning them, verifying Bluetooth connection quality, updating firmware version number or reset device before tweaking audio settings further or reaching out for Apple Support services for help.