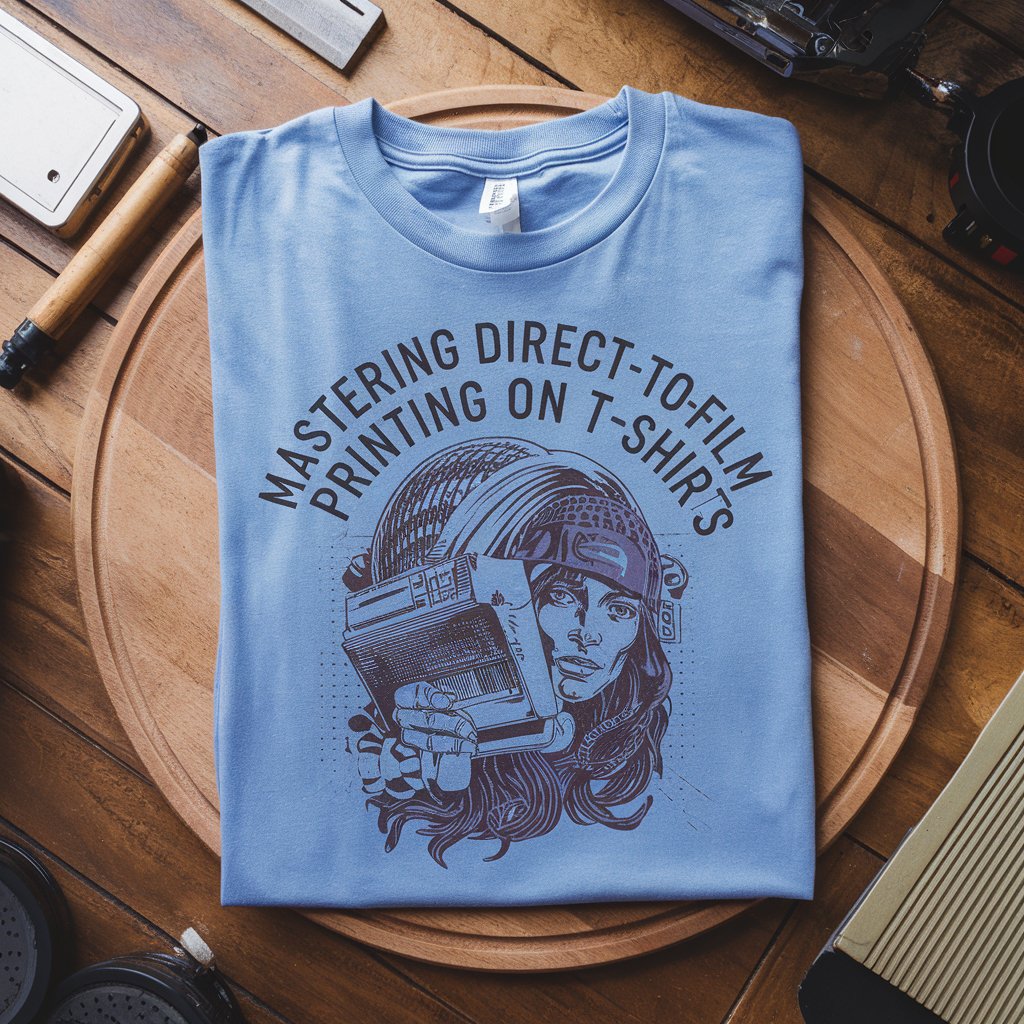
In recent years, custom t-shirt printing has become a popular way for both businesses and individuals to express creativity and brand identity. Whether you’re starting your own custom apparel line or just looking to create unique designs for personal use, mastering the right printing technique is key to success. One of the most innovative methods gaining traction in the t-shirt printing industry is Direct-to-Film (DTF) printing. Known for its high-quality results and versatility, DTF printing is transforming the way custom t-shirts are produced.
In this article, we’ll explore the essential tips for mastering DTF printing on t-shirts. From investing in the right equipment to perfecting the printing and pressing techniques, these tips will help you achieve vibrant, long-lasting designs that your customers will love.
What is Direct-to-Film (DTF) Printing?
Before diving into the tips, let’s take a moment to define DTF printing and why it’s quickly becoming the go-to method for custom t-shirt designs. DTF printing involves printing your design onto a special film, which is then transferred onto a t-shirt using heat and pressure. The process differs from traditional methods like screen printing and direct-to-garment (DTG) printing, offering a combination of benefits that make it ideal for small to medium production runs.
The main appeal of DTF printing lies in its versatility. It works on a variety of fabric types, including cotton, polyester, and even blends. Additionally, DTF printing delivers vibrant colors and a soft feel on the fabric, making it a favorite among t-shirt business owners and hobbyists alike.
Invest in the Right Equipment
One of the first steps to mastering DTF printing is choosing the right equipment. The quality of your final product depends heavily on the tools you use. To get started, you’ll need a DTF printer, transfer film, powder adhesive, and a heat press. Each piece of equipment plays an important role in ensuring your prints come out crisp, clear, and long-lasting.
When selecting a printer, make sure it’s specifically designed for DTF printing. These printers are optimized to handle the unique demands of DTF inks, which require a special type of ink and printing process. While there are budget-friendly options available, it’s important to invest in a printer that offers consistent results and durability over time. Cheaper models might seem tempting but may end up costing more in maintenance and wasted materials.
Use High-Quality Transfer Films
The next step to mastering DTF printing is selecting high-quality transfer films. These films are the foundation of the DTF process, as the design is printed onto them before being transferred to the fabric. Choosing the right film can make a significant difference in the final appearance and longevity of your design.
Not all transfer films are created equal. Premium DTF films are designed to withstand high temperatures and allow for a smooth, even transfer. Inferior films can result in poor print quality, uneven transfers, or designs that fade quickly over time. Additionally, the film you choose should be compatible with the fabric types you’re working with. For instance, some films are better suited for cotton, while others are optimized for polyester blends. Be sure to check the manufacturer’s recommendations for best results.
Perfect Your Printing Settings
Achieving high-quality prints requires fine-tuning your printer’s settings. One of the most crucial aspects of the DTF printing process is ensuring the right amount of ink is applied to the film. Too much ink can lead to smudging or excess ink on the fabric, while too little ink will result in a faded design. Pay close attention to your printer’s settings, such as resolution, ink density, and the type of DTF inks you use.
When adjusting your settings, it’s also essential to consider the fabric you are printing on. For example, a cotton t-shirt will absorb ink differently than a polyester blend, and this can affect how your design appears after printing and pressing. Running a few test prints will help you dial in the optimal settings for different fabrics and design types.
Master the Powdering Process
One of the defining characteristics of DTF printing is the powdering process. After your design is printed onto the transfer film, it is coated with a special adhesive powder. The powder helps bond the design to the fabric during the heat pressing process, ensuring that the design doesn’t peel or crack over time.
Applying the powder evenly is essential for a smooth, professional finish. Too much powder can lead to a messy transfer, while too little powder can result in poor adhesion. To apply the powder, carefully sprinkle it over the printed film and then shake off any excess. You want a thin, uniform layer of powder across the entire design. Once you’ve applied the powder, it’s time to cure it. Curing the powder involves passing it through a heat tunnel or using a heat press to set it properly.
Temperature and Pressure Control During Heat Pressing
Once your design is ready, the next step is transferring it onto the t-shirt using a heat press. Getting the temperature and pressure just right is crucial for ensuring a smooth, long-lasting transfer. Too high a temperature can scorch the fabric, while too low a temperature will result in poor adhesion.
Generally, the recommended temperature for DTF transfers is around 320°F (160°C), but it’s essential to consult your equipment’s guidelines and test on different fabrics to determine the best settings. Pressure is just as important—use medium pressure to avoid damaging the fabric while ensuring the design adheres well.
It’s also important to press the transfer for the right amount of time. Typically, DTF transfers require around 15-20 seconds, but again, this can vary based on your specific equipment and the type of fabric you’re using. Experimenting with different time, temperature, and pressure settings will help you achieve the best results.
Testing and Adjusting Your Prints
As with any printing technique, testing your prints before moving on to large batches is essential. The initial tests will help you determine the optimal settings for your specific printer, film, and fabrics. Adjust your settings accordingly based on the results of these tests.
If your test prints come out too light or too dark, you can tweak the printer’s settings. If the design doesn’t adhere properly to the fabric, you might need to adjust the amount of adhesive powder or change your heat press settings. Don’t be afraid to experiment and fine-tune your process until you achieve the results you’re after.
Maintain Your DTF Printing Equipment
Regular maintenance is key to keeping your DTF printing equipment running smoothly. Like any printing system, DTF printers and heat presses need care and attention to maintain their performance. Clean your printer regularly to prevent clogs and ensure consistent ink flow. It’s also essential to check your heat press for any wear or malfunctions that could impact your prints.
Proper storage of your films, inks, and powders is also critical for long-term success. Store them in a cool, dry place to avoid degradation, and always follow manufacturer guidelines for storage and usage.
Conclusion
Mastering DTF printing on t-shirts is a valuable skill for anyone looking to create high-quality, custom apparel. With the right equipment, proper settings, and attention to detail, you can achieve vibrant, long-lasting designs that will stand the test of time. Keep experimenting and refining your process to ensure the best possible results for every design.
By following these tips and investing in the right tools, you’ll be well on your way to mastering DTF printing and creating t-shirts that both you and your customers will be proud of.