
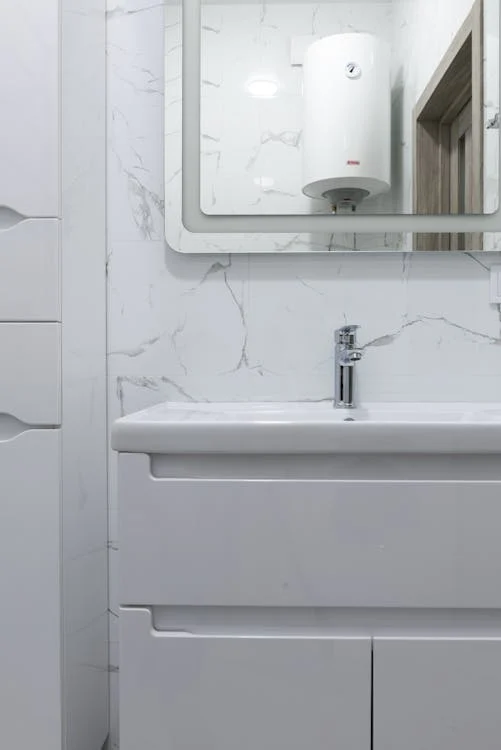
Having issues with your water heater can be a frustrating experience, especially when hot water is essential for daily activities like showering, washing dishes, or doing laundry. Whether you’re dealing with inconsistent water temperature, strange noises, or a complete lack of hot water, these problems can disrupt your routine and cause significant inconvenience. Fortunately, with the right knowledge and a few proactive steps, you can address many common water heater issues yourself or know when it’s time to call in a professional. In this blog post, we will explore six practical tips that could help you troubleshoot and resolve some of the most common water heater problems.
Check the Thermostat Settings
One of the first things you should check if your water heater isn’t providing enough hot water is the thermostat settings. Sometimes, the thermostat may be set too low, resulting in lukewarm water instead of hot water. To adjust the thermostat, locate the control panel on your water heater and follow the manufacturer’s instructions to increase the temperature setting. However, be cautious not to set the temperature too high, as this can lead to scalding and increase energy consumption. A recommended setting is around 120 degrees Fahrenheit, which provides sufficient hot water while minimizing the risk of burns.
If adjusting the thermostat doesn’t resolve the issue, there may be a problem with the thermostat itself. A malfunctioning thermostat can prevent the water heater from reaching the desired temperature or cause it to heat inconsistently. In such cases, it may be necessary to replace the thermostat to restore proper functionality. Consulting a professional to diagnose and replace the faulty component can ensure the repair is done safely and effectively, improving your water heater’s performance.
Schedule Regular Repairs
Regular maintenance and timely repairs are crucial for ensuring the longevity and efficiency of your water heater. Scheduling regular inspections with a reputable water heater repair service can help identify and address potential issues before they escalate into costly repairs or replacements. During these inspections, the technician can check for signs of wear and tear, clean the unit, and ensure all components are functioning correctly. By keeping your water heater in good condition, you can avoid unexpected breakdowns and extend its lifespan.
When scheduling repairs, it’s essential to address any problems promptly. Ignoring minor issues can lead to more significant damage over time, resulting in higher repair costs and potential water damage to your home. For example, a small leak may seem insignificant, but if left unattended, it can cause corrosion and damage to the water heater’s internal components. Regularly inspecting your water heater and scheduling repairs as soon as you notice any issues can prevent these problems from becoming more severe.
Flush the Tank Annually
Over time, sediment and mineral deposits can accumulate at the bottom of your water heater tank, reducing its efficiency and potentially causing damage. Flushing the tank annually can help remove these deposits and improve the performance of your water heater. To flush the tank, you can follow these steps:
- Turn off the power supply to the water heater. For electric models, switch off the circuit breaker, and for gas models, turn the gas valve to the “off” position.
- Connect a garden hose to the drain valve at the bottom of the tank and place the other end in a suitable drainage area.
- Open the drain valve and allow the water to flow out, carrying the sediment and mineral deposits with it.
- Once the tank is empty, close the drain valve, remove the hose, and refill the tank with fresh water.
- Turn the power supply back on and allow the water heater to reach the desired temperature.
Flushing the tank regularly can help maintain the efficiency of your water heater and prevent potential issues caused by sediment buildup. If you’re unsure about performing this task yourself, consider hiring a professional to ensure it’s done correctly and safely. Regular tank maintenance can extend the life of your water heater and improve its overall performance.
Check the Anode Rod
The anode rod is a crucial component of your water heater that helps prevent corrosion by attracting corrosive elements in the water. Over time, the anode rod can become depleted, leaving the tank vulnerable to rust and damage. Checking and replacing the anode rod as needed can help protect your water heater and extend its lifespan.
To inspect the anode rod, you’ll need to turn off the power supply to the water heater and drain a small amount of water from the tank. Locate the anode rod, which is usually accessible from the top of the unit, and remove it for inspection. If the rod is heavily corroded or less than half an inch thick, it’s time to replace it. Installing a new anode rod can help maintain the integrity of your water heater and prevent costly repairs.
Insulate the Tank and Pipes
Insulating your water heater tank and pipes can help improve energy efficiency and reduce heat loss, ensuring your water stays hotter for longer. This can be especially beneficial during colder months when heat loss is more pronounced. By reducing the amount of energy needed to heat the water, you can lower your utility bills and reduce the strain on your water heater.
To insulate your water heater tank, you can use a water heater blanket or jacket, which is available at most hardware stores. Make sure to follow the manufacturer’s instructions for installation, and be cautious not to cover any important components, such as the thermostat or pressure relief valve. Additionally, insulating the hot water pipes can help minimize heat loss as the water travels from the heater to your faucets.
Test the Pressure Relief Valve
The pressure relief valve is an essential safety feature of your water heater that helps prevent excessive pressure buildup within the tank. If the pressure becomes too high, the valve will release water to reduce the pressure and prevent potential damage or explosions. Regularly testing the pressure relief valve can ensure it’s functioning correctly and provide peace of mind.
To test the pressure relief valve, you’ll need to turn off the power supply to the water heater and place a bucket under the discharge pipe connected to the valve. Carefully lift the valve’s lever to release a small amount of water. If water flows out of the discharge pipe, the valve is working correctly. If no water is released or the valve is leaking, it may be faulty and should be replaced.
Dealing with water heater problems can be a hassle, but with the right knowledge and proactive steps, you can address many common issues yourself or know when it’s time to call in a professional. By checking the thermostat settings, scheduling regular repairs, flushing the tank annually, inspecting the anode rod, insulating the tank and pipes, and testing the pressure relief valve, you can ensure your water heater operates efficiently and safely. Taking these steps can help extend the life of your water heater and prevent unexpected breakdowns, keeping your home comfortable and your daily routines uninterrupted. If you need further assistance or have questions about maintaining your water heater, don’t hesitate to reach out to a qualified technician for expert advice and support.