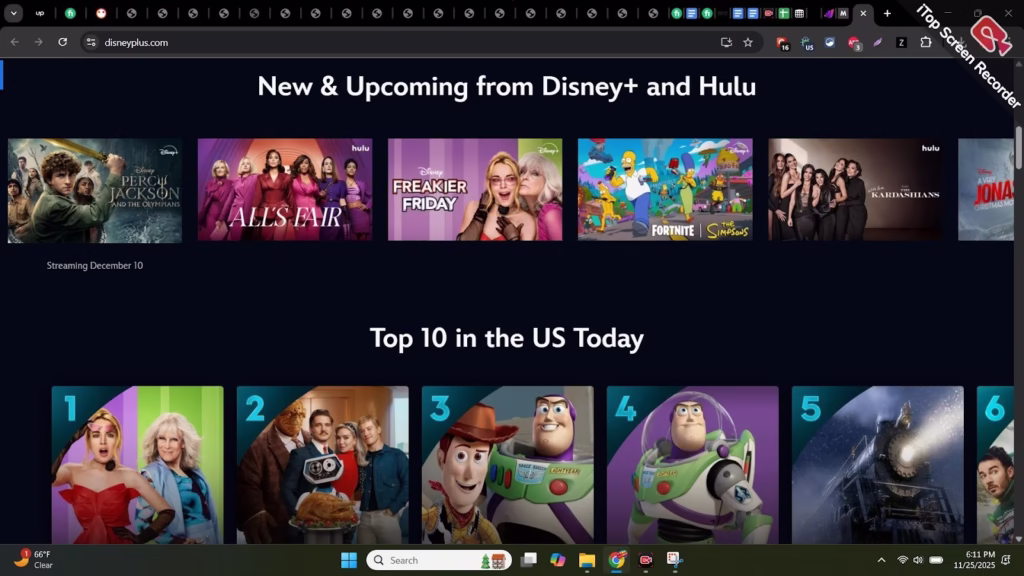
You’ve found that perfect Disney+ series, but what happens when your subscription ends or the show leaves the platform? If you’re looking for a reliable way to capture your favorite Disney+ content for personal viewing, you’re in the right spot.
Today, I’ll walk you through using iTop Screen Recorder to record Disney+ shows like a pro. Let’s address the elephant in the room first. Disney+ uses advanced DRM (Digital Rights Management) protection that can cause black screens when you try standard recording methods. Most devices and browsers block Disney+ video capture, and you might only get a black screen instead of the actual video content.
But here’s the good news: with the right tools and techniques, you can successfully capture Disney+ content for personal use.
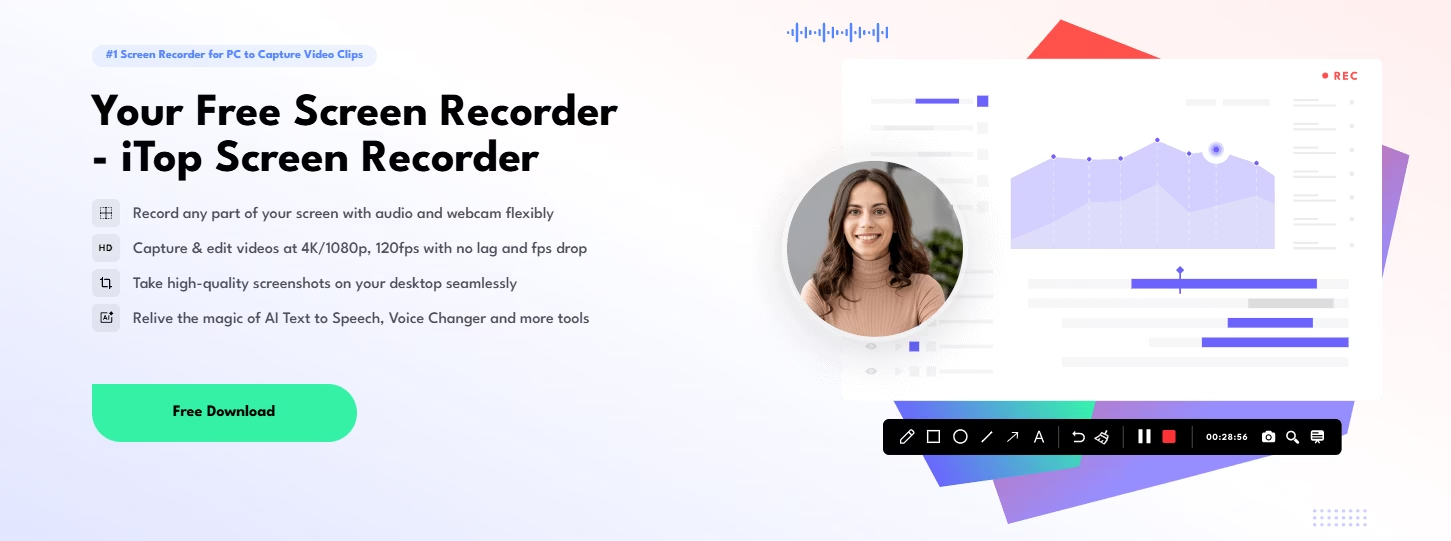
Meet iTop Screen Recorder: Your Recording Solution
iTop Screen Recorder is a free screen recorder with no time limit that allows you to record tutorial videos, Zoom meetings, and streaming videos as long as you want. What makes it stand out for Disney+ recording?
Core Features That Matter
The software can screen record your desktop and connected iOS/Android devices in one click, screen mirror and capture iPhone/iPad/Android screens on PC, and record screen with audio and webcam at the same time.
Here’s what you get:
- No Recording Time Limits: Record as long as you want without restrictions
- HD Quality Support: Supports recording high-quality videos (4K supported) for full screen, windows, or selected regions
- GPU Acceleration: Utilizes GPU acceleration to greatly speed up video processing with low-CPU usage for no-lag screen recording
- Multiple Format Options: Choose from MP4, AVI, FLV, MKV, MOV, TS, and GIF formats
Advanced Recording Tools
You can add and erase text, shapes, and arrows to annotate your recording, and use the magnifier and spotlight to highlight important content. Plus, it provides options including Doodle, Pause, Done, Take a screenshot, Mute Microphone, Magnifier, Spotlight, and Teleprompter.
Setting Up iTop Screen Recorder for Disney+
Ready to get started? Here’s your step-by-step roadmap:
Step 1: Download and Install
First, visit the official website and download iTop Screen Recorder. The software is free to download and use, offering free features that enable you to record screen video with audio and webcam simultaneously for webinars, meetings, video calls, and online videos.
Step 2: Configure Your Settings

Click the Record tab on the left panel, where you’ll see 4 main record options: Screen, Webcam, Only Audio, and Game. Screen record mode allows you to record everything on your PC screen. Select the region to record with options including Full Screen, Select Region, Select Window, Lock Window, commonly used Fixed Ratios, and Recently Used.
For Disney+ recording, I recommend:
- Choose “Full Screen” or “Select Window” mode
- Enable system sound recording
- Disable webcam unless needed
- Set output format to MP4 for best compatibility
Step 3: Prepare Your Browser
This is crucial. Unlike other streaming platforms, Disney+ requires specific browser configurations. Use Firefox browser for best results, as Chrome and Edge often trigger DRM blocks.
Before recording:
- Disable hardware acceleration in your browser settings
- Close unnecessary tabs and applications
- Ensure a stable internet connection (at least 25 Mbps for HD content)
Recording Disney+ Content: The Complete Process
Now for the main event. Here’s exactly how to capture your Disney+ shows:
Pre-Recording Checklist
- Launch iTop Screen Recorder and select your recording area
- Open the Firefox browser and log in to Disney+
- Navigate to your chosen content, but don’t play it yet
- Test audio levels using the built-in meters
During Recording
A floating toolbar will appear on the screen when recording starts if you have “Show floating toolbar” enabled, providing various options, including Doodle, Pause, Done, Take a screenshot, Mute Microphone, Magnifier, Spotlight, and Teleprompter.
Key tips while recording:
- Let videos buffer completely before starting
- Avoid switching windows during capture
- Use the pause feature for breaks
- Monitor the recording timer
Post-Recording Options
iTop Screen Recorder provides 2 video editor tools (Quick Editor and Advanced Editor). Quick Editor allows you to edit videos quickly and easily with basic features.
You can:
- Trim unwanted sections
- Add watermarks for protection
- Adjust audio levels
- Export in multiple formats
Built-in Video Editor
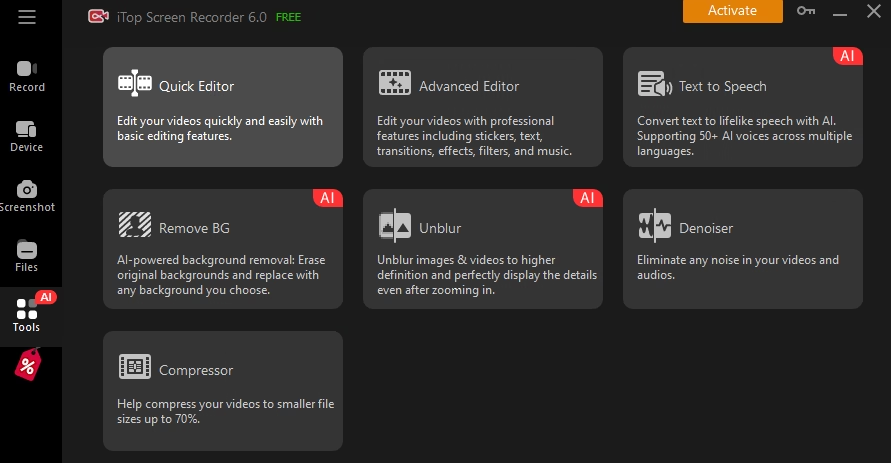
The software’s video editing tools include both Quick Editor and Advanced Editor options. Quick Editor offers basic editing features such as filters, stickers, background music, and subtitles. Advanced Editor provides professional editing features like transitions, effects, text overlays, splitting, fading, and speed adjustments.
Troubleshooting Common Issues
Even with the best tools, you might encounter hiccups. Here’s how to solve them:
Black Screen Problems
If you’re getting a black screen:
- Switch to Firefox browser
- Disable hardware acceleration
- Update your graphics drivers
- Try windowed mode instead of full screen
Audio Sync Issues
For audio problems:
- Check system sound settings
- Ensure no other apps are using audio
- Adjust recording frame rate to match content
Storage Management
Disney+ shows can be lengthy. To save disk space, iTop Screen Recorder includes a Video Compressor tool that reduces video file sizes without sacrificing quality.
Best Practices and Legal Considerations
Remember, recording copyrighted content comes with responsibilities:
- Personal Use Only: Never distribute or sell recorded content
- Respect Terms of Service: Understand platform policies
- Quality Settings: Balance file size with viewing quality
- Storage Strategy: Organize recordings systematically
With iTop Screen Recorder Pro, you can customize watermarks, supporting both text and image, to protect your content when creating tutorials or reviews.
Quick-Share and Export Options
iTop Screen Recorder allows quick sharing to YouTube, Facebook, Instagram, Twitch, and lets you directly share your videos to several online video platforms. This feature proves invaluable for content creators making Disney+ reviews or reaction videos.
Wrapping Up Your Disney+ Recording Journey
Recording Disney+ content with iTop Screen Recorder opens up possibilities for offline viewing, content creation, and personal archives. With its comprehensive features, from a new Teleprompter with prewritten scripts, Game Boost for smoother recording, Magnifier for better highlights, and newly supported cloud storage, you’re equipped for any recording challenge.
The key to success? Preparation, the right browser setup, and understanding your tools. With iTop Screen Recorder’s intuitive interface and powerful features, you’ll capture your favorite Disney+ moments effortlessly.