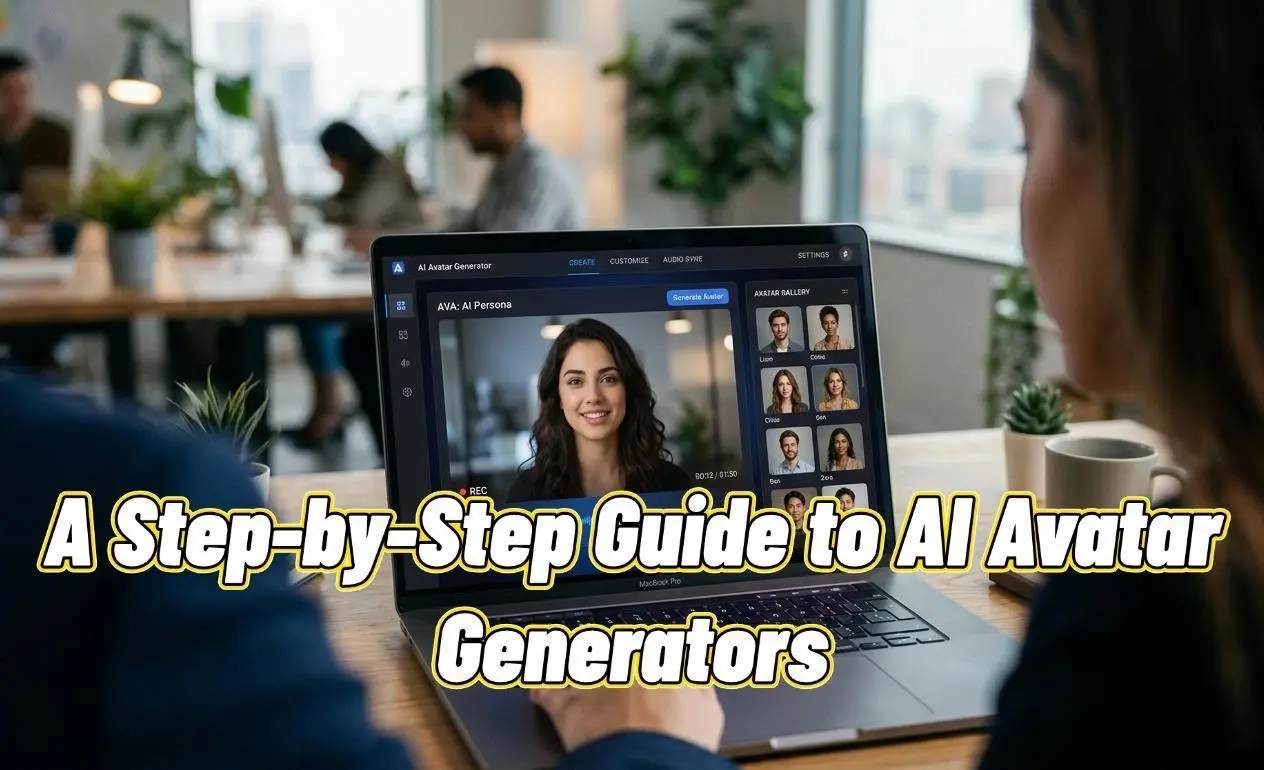
Have you ever wanted to produce high-quality marketing or training videos, only to be stopped by high actor fees, complex filming equipment, and long production schedules? Or maybe you needed to create multi-language versions of your content on a tight deadline and found the costs and coordination overwhelming? A powerful solution is here: the ai avatar generator.
This article is a practical, hands-on tutorial designed for content creators, marketers, and educators. Our goal is simple: by the end of this guide, you will be able to independently use an ai avatar generator to create lifelike, realistic talking avatars from scratch and apply them to real-world business scenarios. You will master the core skill of turning text into high-quality digital human videos, revolutionizing your content workflow while saving time and money.
Breaking Down the Features: The Core Capabilities of an AI Avatar Generator
Before we dive into the steps, let’s understand the core features that a top-tier ai avatar generator offers. These are the tools in our “arsenal” for creating amazing content. Many excellent AI tools on the market, like HeyGen, Synthesia, and D-ID, share these common functionalities.
● 1. Extensive AI Avatar Model Library: A great AI avatar generator provides a diverse library of pre-made digital human models of different ages, ethnicities, professions, and styles. These models are professionally trained to have natural expressions and movements.
● 2. Custom AI Character Creation: Beyond pre-made models, advanced platforms allow you to upload your own photo to generate a unique AI character. This is invaluable for building a personal brand or a corporate spokesperson.
● 3. Powerful Text-to-Voice Engine: This is the core technology that converts your script into audio. A good text-to-voice engine supports numerous languages and accents, and allows you to adjust the speed, pitch, and pauses to sound more human and less robotic.
● 4. Scene and Element Customization: To make your video look professional, an ai avatar generator typically allows you to change backgrounds, add your logo, insert text and images, and include background music to match your brand’s style.
● 5. API Integration: For businesses with development needs, many AI avatar maker platforms offer an API to seamlessly integrate video generation capabilities into their own websites or applications.
Walkthrough: How to Make a Product Intro Video in 4 Steps with an AI Avatar Generator
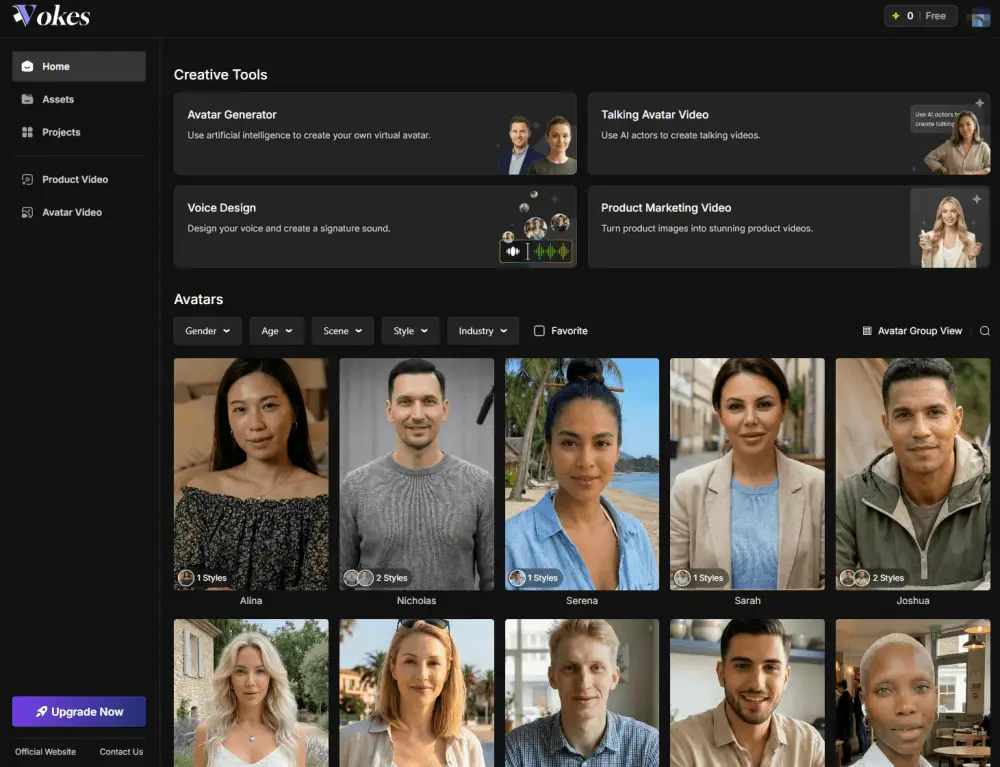
Let’s get practical. Imagine you need to create a 60-second introduction video for a new app. We’ll use a popular ai avatar generator (like HeyGen, Vokes) as an example to walk you through the entire process.
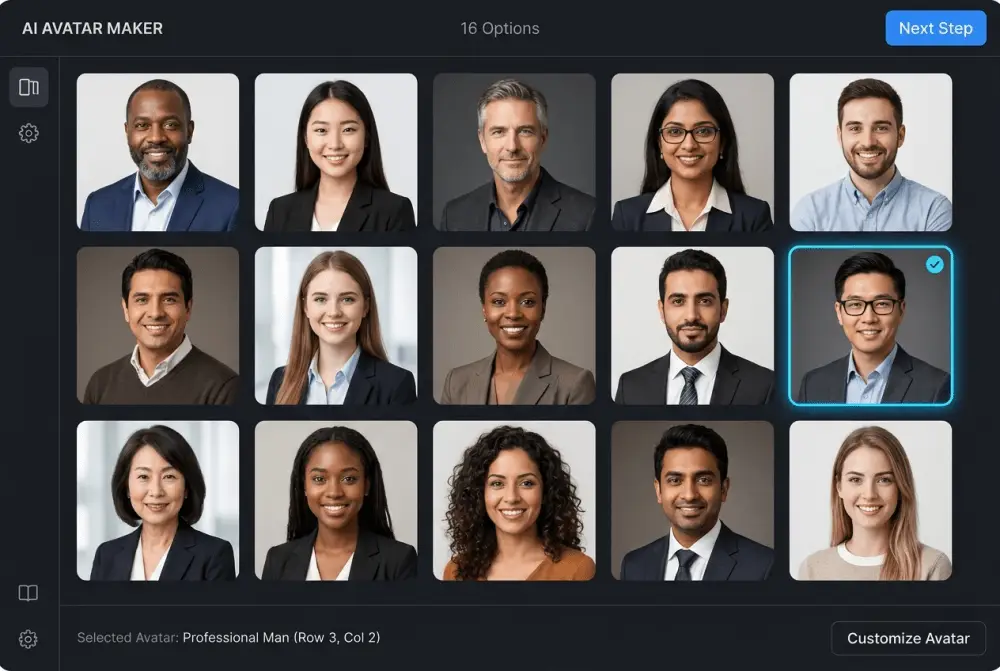
Step 1: Choose or Create a Suitable AI Avatar Model
Choosing a digital human that aligns with your brand and target audience is the first step to success.
● Instructions:
1. Log in to your ai avatar generator account.
2. Navigate to the “Avatar” menu. You’ll see a library with hundreds of pre-made models. You can filter by gender, age, attire (business, casual, etc.), and more.
3. For our app intro video, let’s choose a friendly and professional-looking business woman. Click to select her, and she will appear on your video canvas.
○ [Insert a screenshot of the AI avatar model selection interface here]
4. (Advanced Option) If you want to use your own likeness, select the “Photo Avatar” or “Instant Avatar” feature. Follow the instructions to upload a high-quality, well-lit, front-facing photo of yourself. The system will process it in minutes to generate one of your very own realistic talking avatars. This is a fantastic way to build a personal brand.
Step 2: Enter Your Script and Use the Text-to-Voice Feature
This is the key step where you give your AI character its “soul.”
● Instructions:
1. On the right side of the video editor, find the “Script” or “Text” input box.
2. Paste your pre-written product introduction script into the box. For example: “Hello everyone! Are you tired of switching between multiple apps to manage your tasks? Today, we are excited to introduce [Your App Name], the all-in-one productivity tool…”
3. Below the script box, you will find the language and voice selection menus. The text-to-voice feature in this ai avatar generator is incredibly powerful.
4. Choose a Language: Select “English (United States).”
5. Choose a Voice: Browse the list of voices and listen to the different tones. Select one that is clear, energetic, and matches the persona of your chosen AI avatar model.
○ [Insert a screenshot of the script input and voice selection interface here]
Step 3: Adjust Voice Tone and Pacing for a Natural Sound
To make your realistic talking avatars sound less like an AI, fine-tuning is essential.
● Instructions:
1. Adjust Speed: In the voice settings, find the speed slider. For a product intro, a speed of 1.0x or 1.1x is often suitable to convey energy.
2. Adjust Pitch: Tweaking the pitch slightly can make the voice more unique.
3. Insert Pauses: This is the most important trick! After a word you want to emphasize or between long sentences, click the “Add Pause” button and select a 0.5s or 1s pause. This dramatically mimics a real person’s speaking rhythm and makes your AI character more persuasive.
○ Example: “Today, we are excited to introduce [Your App Name], [add a 0.5s pause] the all-in-one productivity tool…”
4. Click the “Play” or “Preview” button to listen to the result repeatedly until you are happy with the text-to-voice output.
Step 4: Add Visual Elements and Generate the Video
The final step is to polish the video’s visuals to create a complete and professional piece of content.
● Instructions:
1. Change Background: In the canvas toolbar, select “Background.” You can upload your company’s branded background image or choose a solid color.
2. Add Logo: Select “Elements” or “Assets,” upload your company logo, and place it in a corner of the screen.
3. Add Text/Images: As the video mentions key features, you can use the “Text” tool to add subtitles or keywords, or use the “Image” tool to show screenshots of your app.
4. Once everything is set, click the “Submit” or “Generate Video” button in the top right corner. The ai avatar generator will render the video in the cloud. After a few minutes, you can download the high-definition MP4 video file.
Pro Tips: Take Your AI Avatar Videos to the Next Level
Once you’ve mastered the basics, these advanced techniques will help you become a best AI avatar generator user.
Tip 1: Master the Use of Pauses and Emphasis
Don’t underestimate the power of a pause. Besides inserting fixed-duration pauses, you can also naturally control the rhythm by using punctuation like commas, periods, and dashes in your script. Some advanced AI tools even support SSML (Speech Synthesis Markup Language) for more precise control.
Tip 2: Choose a Close-up or Mid-shot
In most business scenarios (like tutorials or presentations), use a close-up or mid-shot composition for your AI avatar model. This helps the audience focus on the character’s facial expressions and lip-syncing, which enhances credibility.
Tip 3: Keep Your Background Clean and Professional
Unless you have a specific creative reason, use a simple and clean background. Solid colors, office scenes, or blurred backgrounds with your brand logo are all excellent choices. A cluttered background distracts the audience from the AI character and the core message.
Tip 4: Script is King: Write in a Conversational Tone
An ai avatar generator is just a tool; the soul of your video is its script. Write in a conversational, natural style and avoid overly formal language. After writing your script, read it out loud to see if it flows well. A great script makes the text-to-voice output exponentially better.
Summary and Recap
Congratulations! By following this guide, you have learned the entire process of creating a professional digital human video with an ai avatar generator. We started by understanding the core features, walked through a detailed 4-step case study of making a product intro video, and explored pro tips to enhance your final output.
Key Takeaways:
● Choosing the right AI avatar model is the foundation.
● The text-to-voice engine turns text into audio, which can be perfected by adjusting speed and adding pauses.
● The quality of your script directly determines the success of your video.
● Simple visual elements (background, logo) boost professionalism.
Your Next Steps (Homework):
Now it’s your turn to practice! Use the skills you learned today to create a 30-second introduction video for your own business or personal project. Challenge yourself by creating an AI character from your own photo or by producing a video in another language to experience the full potential of a powerful AI avatar maker.
FAQ – Frequently Asked Questions
Q1: Why does my AI avatar’s lip-syncing look a bit unnatural?
A1: This can happen for a few reasons:
1) The script is too long or the speaking rate is too fast for the AI to process smoothly.
2) The AI avatar model you chose might be an older version with less advanced lip-syncing technology.
Solution: Try breaking long sentences into shorter ones and adding more pauses. If the problem persists, try switching to a newer model, often marked as “Pro” or “Premium.”
Q2: The text-to-voice still sounds a little robotic. What can I do?
A2: The key to a natural-sounding voice is mimicking human non-verbal cues.
First, ensure you’re using the highest quality voices offered by the platform (often labeled “Premium” or “Neural”).
Second, make liberal use of short pauses (0.2s to 0.5s) to simulate breathing and thinking.
Finally, review your script for any awkward or unnatural phrases.
The premium voices on a good ai avatar generator can produce incredibly realistic results.
Q3: What’s the real difference between a paid AI avatar generator and a free one?
A3: The main differences lie in quality, features, and usage rights. A paid, best AI avatar generator typically offers:
1) More realistic talking avatars with better lip-syncing.
2) A larger selection of AI avatar model options and higher-quality text-to-voice audio.
3) Watermark-free exports, higher resolutions (e.g., 1080p, 4K).
4) Longer video generation limits and a commercial use license.
Free tools usually have watermarks, time limits, fewer models, and are best suited for personal experiments and non-commercial use.